Scallops are probably our favorite seafood. Living in Boston, we’re fortunate to have access to fresh scallops at reasonable prices most of the year.
One nice aspect of scallops is that they can be cooked very quickly. In fact, they do not need cooking at all – they can be eaten raw – but it is generally a good precaution to cook the surface, where bacteria are most likely to be present. Thus, seared scallops.
We make them two ways, with and without a flour coating, for a slightly different taste.
Classic Seared Scallops
The main trick to cooking scallops is preventing water from escaping the flesh. With loss of water, scallops become smaller and tougher and much less pleasant to eat.
The classic way to keep the water in is to sear the scallops at high heat. To achieve this, the surface of the scallops must be dry. (If the surface is wet, the water with its high heat capacity will prevent the surface from reaching high temperatures before the interior of the scallop has warmed enough to release its water.)
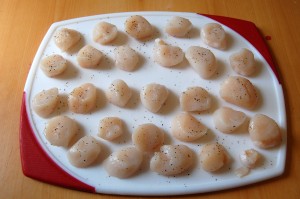
So pat your scallops thoroughly dry with paper towels, then season them with salt and pepper:
Warm the pan to high temperatures, and add oil; we prefer ghee (clarified butter) or beef tallow. Olive oil can also work. If you use butter, which has water, then you should heat the butter long enough that its water evaporates before adding scallops.
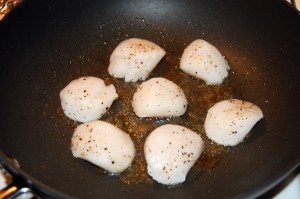
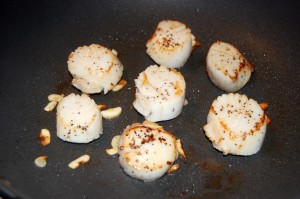
When the hot oiled pan is ready, place the scallops in the pan with space between each.
The reason for spacing the scallops is to maintain a high temperature at the scallop surface. If the scallops are too close together, they will cool the pan and prevent the surface from being properly seared.
The above pictures shows a minimal amount of oil. You can use more oil – as much as 3-4 tablespoons – which will cook the scallops faster.
The ideal pan temperature is the lowest temperature at which water doesn’t accumulate in the pan. Water released from the scallops should immediately turn to steam, so you see no liquid water, but this evaporation will prevent the scallops from burning. With a little practice you’ll find the right temperature; on our gas stove it is a medium-high heat.
It typically takes about a minute and a half to sear one side of the scallop. After 90 seconds, flip the scallop over and sear the other side for 90 seconds. You can also turn them on their side briefly to sear the sides.
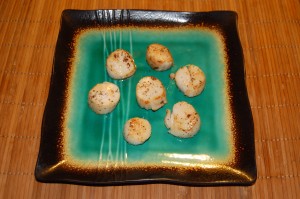
Remove them from the pan and serve:
Crispy Seared Scallops
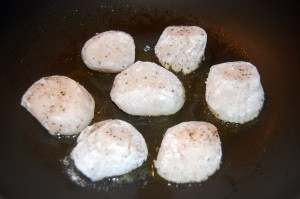
For a slightly different flavor, lightly coat the scallops in a safe starch flour (rice flour, potato starch, tapioca starch, or mixture) as well as salt and pepper.
You can add sliced garlic or other flavoring vegetables to the oil to alter the flavor; the flour coating will pick up flavors from the oil.
Typically the flour-coated scallops will retain water better and the flour will burn more easily, so they should be cooked at a lower temperature for a bit longer – say 2 minutes per side at a medium setting on our stove.
Dipping Sauce
Once they are done, remove and make a dipping sauce. The recipe for PHD sauces is:
- Oil – such as olive oil.
- Acid – such as rice vinegar, lemon juice, or lime juice.
- Flavorings – such as mustard, salt, pepper, or herbs.
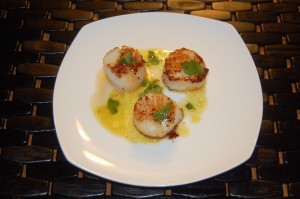
Here we made a sauce from olive oil, rice vinegar, mustard, salt, pepper, and cilantro, and drizzled it over the scallops:
Conclusion
Because they are barely cooked, almost raw inside, time from refrigerator to dining table can be as little as 10 to 15 minutes. Serve with a safe starch and vegetable, and you have a complete meal.
Here are a few other perspectives on scallops. Here is Ming Tsai, a chef from suburban Boston:
And here’s Chef John from FoodWishes.com. His sauce is the same as ours, but with jalapeno and orange slices added:




Recent Comments