Category Archives: Vegetables

Fermented Mixed Vegetables

We’ve been eating a lot of fermented vegetables lately. We started with kimchi (Homemade Kimchi, Jun 26, 2011), but lately we’ve been fermenting our vegetables in a less spicy style that is normally used for sauerkraut.

Sauerkraut” means “sour cabbage.” We are not huge cabbage fans, so we often substitute other vegetables. We’ve had good results from Daikon radish, red radish, carrot, celery, and cabbage; the only vegetable we didn’t care for was parsnip.

This is a really simple procedure – mix salt, water, and vegetables with a few spices; leave in a cool, dark sealed container for 7-10 days; eat.

For safety, the key is to give enough time for the water to become acidic. Wikipedia explains the evolution of the bacterial population:

The fermentation process has three phases. In the first phase, anaerobic bacteria such as Klebsiella and Enterobacter lead the fermentation, and begin producing an acidic environment that favours later bacteria. The second phase starts as the acid levels become too high for many bacteria, and Leuconostoc mesenteroides and other Leuconostoc spp. take dominance. In the third phase, various Lactobacillus species, including L. brevis and L. plantarum, ferment any remaining sugars, further lowering the pH. There are unpasteurized sauerkrauts on the market. Properly cured sauerkraut is sufficiently acidic to prevent a favorable environment for the growth of Clostridium botulinum, the toxins of which cause botulism.

Klebsiella and Enterobacter are potentially pathogenic bacteria, but the later Leuconostoc and Lactobacillus species are probiotic. So the more acidic the water, the better the mix of bacteria.

Another good tactic is use predominantly low-calorie vegetables. Keeping sugar levels low will help keep the yeast population down.

First Batch: Daikon radish, celery, carrot

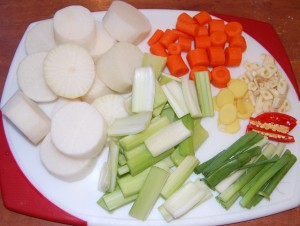
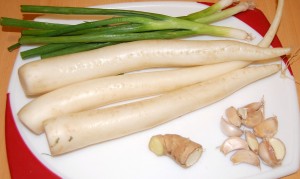
Here were the raw materials for one batch:

We could have cut the white Daikon radish pieces smaller, but this size did fine: by day 7 they were softened all the way through.

Sea salt, ginger, garlic, and peppercorn are seasonings we consider essential; green onion and red pepper have worked for us as well.

You’ll need a large glass or ceramic container that seals. If it is glass, keep it in a dark cabinet while fermenting to avoid light exposure. We like to look at ours in progress, so we bought glass containers.

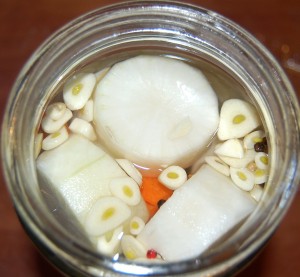
Fill the glass container about 80% full with diced vegetables, then cover with water so the container is 90% full. Add enough sea salt that the water tastes salty, but not undrinkably so. Also add the other seasonings – ginger, garlic, peppercorn, and any others you choose.

The container will now look like this:

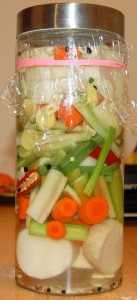
Now it has to be covered with an air-tight seal. We placed plastic wrap over the top, wrapped a rubber band around the jar, and then sealed the lid over the wrap:

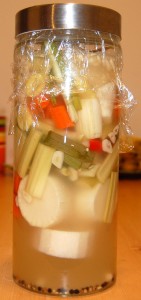
After a week it will look like this:

Note how cloudy the water has become.

After a week you should be able to start removing vegetables to eat. Here are some vegetables:

It’s also a good idea to remove the cloudy fluid and drink it. This makes a great “soup” or beverage along with your meal.

As you remove fluid, add water and sea salt to replace what you took. When you run out of vegetables, add a new batch of diced vegetables to the old fluid and let it ferment for a week.

Second Batch: Daikon radish, green onion, and red radish

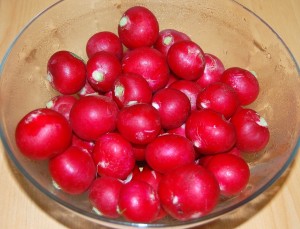
This first try was so successful we bought a larger glass container and made another batch, this time including red radish. Ingredients:

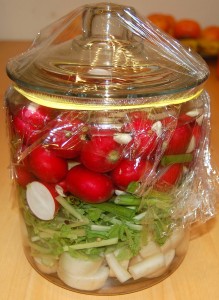
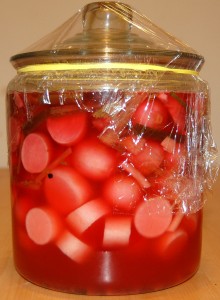
Here it is ready to go into a dark cabinet for fermentation:

And here it is a week later:

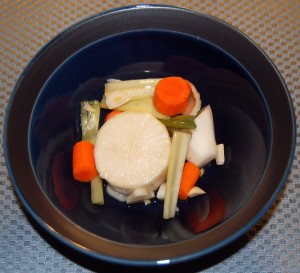
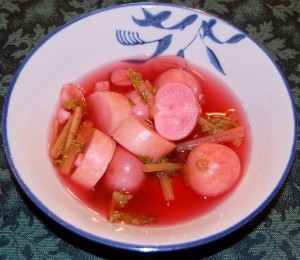
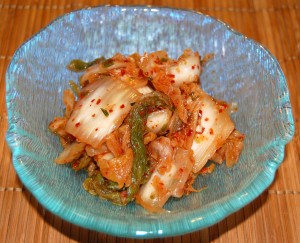
All the red skin pigment has come off the radishes and into the fluid. Here is a bowl of vegetables and fluid:

We’ve been eating two bowls a day, one at dinner and the other at breakfast or lunch.

Other Tips

Try to keep the fermentation jar sterile. We replace the wrap every time we open the container, and keep the lid region dry at all times: if any fluid spills on it as we take vegetables out, we dry the top of the jar with a paper towel. (Bacteria need moisture to thrive.)

If you have concerns about the bacteria on your vegetables, sprinkle salt over them and let them sit for a bit, then rinse the vegetables before dicing them and adding them to the container. This salting will help sterilize the surface a bit.

Conclusion

Even if you don’t like vegetables, you’ll probably like this. Fermented vegetables are surprisingly tasty. Moreover, the fluid is also very tasty. It makes a healthful hydrating beverage, and a great accompaniment to a meal; the acidic fluid helps clear the palate and improve the taste of foods.

We couldn’t be happier with our vegetable fermentation. It makes vegetables taste great, provides us with helpful probiotic flora and lactic acid, and is exceptionally easy to prepare. No cooking necessary!

Homemade Kimchi

After our post on Kimchi (May 15, 2011) we decided to start making our own fermented vegetables. Foods are always healthier when made at home, and you can adjust the ingredients to fit your taste.

I’m happy to say it’s been a big success. Our kimchi is tastier than store-bought kimchi, probably much healthier, and we’re eating more of it.

We’re making a number of different varieties, including white radish kimchi and cucumber and carrot kimchi. The methods are essentially the same, so we’ll just show you the traditional Korean cabbage kimchi.

Preparing the cabbage

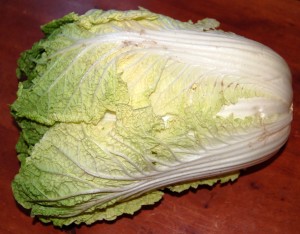
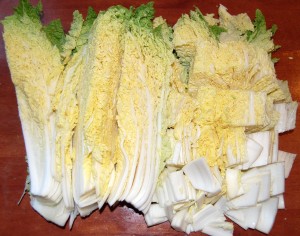
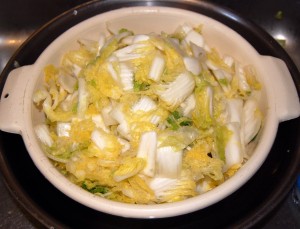
We used about 5 pounds (2.3 kg) Napa cabbage, about 1½ heads. A head looks like this:

The outer layer usually is dirty or has some damage, so we discard that. We also cut out the stem.

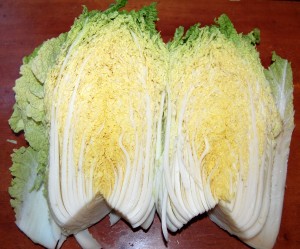
In the traditional methods, when kimchi was made at harvest and was meant to store vegetables through the winter, the head of cabbage would be kept whole. However, for household use it’s best to cut it immediately into bite-size pieces. We do that by cutting the head in half and then cutting cross-wise:

The next step is to salt and dehydrate the cabbage. The salt helps draw water out of the cabbage, preventing the kimchi from becoming watery or soupy, and also helps sterilize the cabbage for a more consistent fermentation.

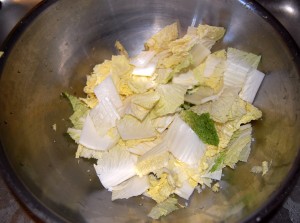
You’ll need a large bowl; stainless steel is good. Put a layer of cabbage – a handful is a good amount – and then sprinkle salt generously over it:

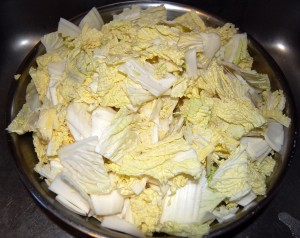
Continue layering in this way until all the cabbage is in:

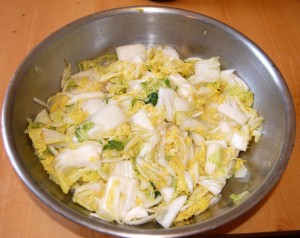
It will take about an hour for the salt to draw the water out of the cabbage. As that happens, water will begin collecting in the bowl, which you can drain. In the last half hour, periodically grab handfuls of the cabbage and squeeze them to drive out the water. When you’re done the volume of cabbage will be much reduced:

At this point you can wash the cabbage to remove any remaining salt and water:

Preparing the marinade

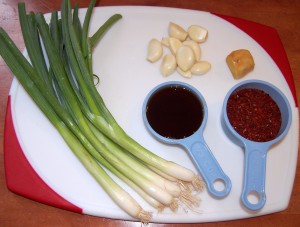
For our marinade we used green onions, garlic, ginger, coarsely ground cayenne pepper (sold in Korean stores as “red pepper powder”), and fish sauce.

We recommend about a ¼ cup of both fish sauce and red pepper in 5 pounds cabbage for a moderately spicy kimchi. The amount of fish sauce and of pepper is probably the biggest determinant of the kimchi’s taste.

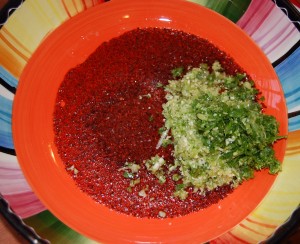
Mince the ingredients and put them in a mixing bowl large enough to hold the cabbage:

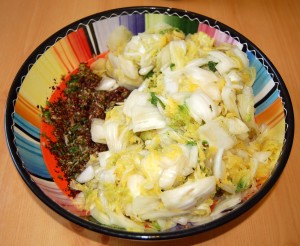
Add the cabbage a handful at a time and squeeze it to eliminate as much water as possible before adding it to the mix:

Mix all the ingredients thoroughly by hand until it looks something like this:

At this point you can taste the mixture and decide if it needs more salt or other spices. When you like the taste, it’s ready to begin fermenting.

Fermentation process

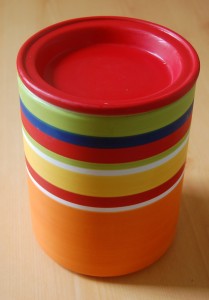
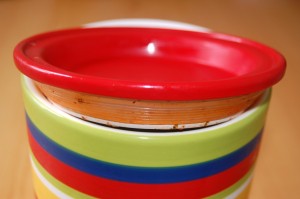
The most important tool you need is a suitable pickling or fermenting jar. It should be glass or ceramic and sealable. We chose a ceramic jar which is fairly inexpensive at Pier 1 Imports. It has an indentation in the lid which allows them to be stacked:

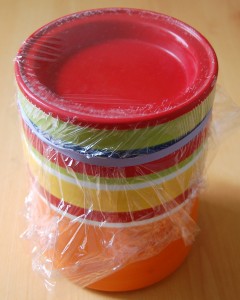
It also has ribbed plastic in the lid which makes a sort of seal, but we also seal it further with plastic wrap and a rubber band:

Keeping oxygen out helps assure that the bacterial species which develop are better suited to the anaerobic environment of the gut, creating a more probiotic mix of flora and preventing the kimchi from going bad as quickly.

The jar should be clean and dry (sterile) before the kimchi mix is put in. It then looks like this:

To accelerate the fermentation, you can leave it out at room temperature overnight, or for two nights. After that, it should be kept refrigerated.

Our kimchi seems to last considerably longer than store-bought kimchi. Ours has still been good after 2 weeks.

Eating the kimchi

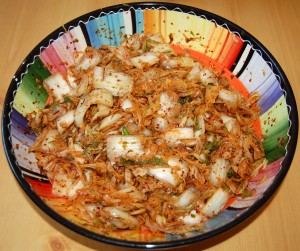
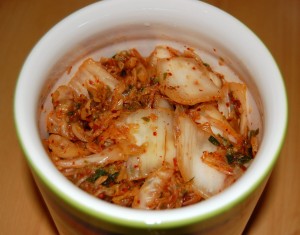
We just pull out some at each meal:

The whole process is very easy – basically, just mix the ingredients and let nature take its course.

Kimchi goes best as a complement to fatty foods. Try a piece with each bite of ribeye steak https://perfecthealthdiet.com/?p=2775; or eat it with Cambridge Fried Rice.

Kimchi

UPDATE: For our recipe for kimchi, see “Homemade Kimchi” (June 26, 2011).

While the Chinese stir-fry vegetables, Koreans pickle them. Wikipedia explains the history of kimchi:

Early kimchi was made of cabbage and beef stock only. Red chili, a New World vegetable not found in Korea before European contact with the Americas, was added to kimchi recipes some time after 1500. Red chili pepper flakes are now used as the main ingredient for spice and source of heat for many varieties of kimchi. In the twelfth century other spices, creating flavors such as sweet and sour, and colors, such as white and orange, were added.

There are many varieties of kimchi. The Kimchi Field Museum in Seoul has documented 187 varieties of kimchi, and there are an almost infinite number of variations upon the basic varieties.

Kimchi’s Health Benefits

Kimchi is a natural probiotic. At early stages in its pickling, lactic acid bacterial species such as Leuconostoc mesenteroides and Lactobacillus plantarum dominate. [1] As kimchi ages, more species appear and the bacterial environment diversifies.

There is evidence that eating kimchi helps against autoimmune disorders and allergies. [2, 3] It’s also plausible that kimchi would help against bowel conditions, since those often feature a limited repertoire of gut flora. (See Bowel Disease, Part IV: Restoring Healthful Gut Flora, July 27, 2010.)

Kimchi Side Dishes

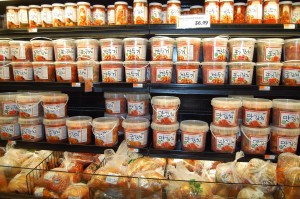
Kimchi is usually served as a side dish when fresh. Here are a few photos from our local Asian supermarket.

When most people think of kimchi they think of cabbage. Here is a whole row of cabbage kimchi:

Cabbage kimchi is made by soaking the cabbage in salt, squeezing the water out, and layering the salted cabbage with a marinade. Marinades may contain shredded radish, chili powder (which gives the red color), garlic, garlic sprouts, and green onion.

Often the marinade will include oyster or anchovy as a flavor enhancer: you can see a sign for oyster cabbage kimchi in the above picture. These are better quality kimchi; poor quality kimchi may use MSG.

However, there are many other types of pickled kimchi besides cabbage. Here is another picture from our local supermarket:

Along the bottom and upper left are pickled vegetables, on the upper right are fermented seafood. In this picture are probably about 80 different varieties of kimchi.

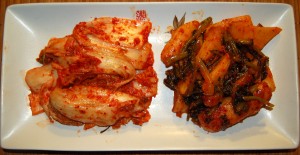
Here are some examples of what we eat:

On the left is Napa cabbage kimchi, which is for Koreans what salad is to Americans. It includes Korean radish, pepper powder, onion, green onion, apple, pear, sugar, salt, ginger, garlic, salted shrimp, salted anchovy, and oyster sauce. On the right is a spicy radish kimchi.

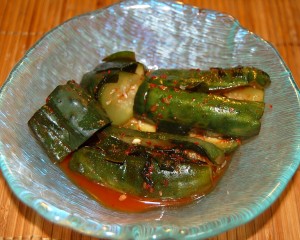
This is another extremely popular flavor, cucumber kimchi. It’s seasoned with chives, Korean radish, hot red pepper powder, onion, carrot, sugar, salt, ginger, garlic, salted anchovy, and sweet rice flour.

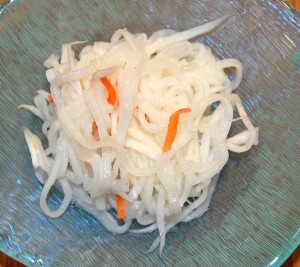
Pickled white radish. One of Paul’s favorites, with a very mild taste; seasoned with cayenne, fish sauce, and salt.

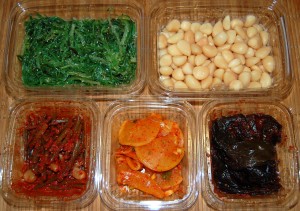
Clockwise from upper left: pickled seaweed (seasoned with vinegar, wine, sugar, cayenne, scallion, oil, green pepper, garlic, and ginger); pickled garlic cloves (seasoned with vinegar, salt, sesame, panicum, black bean, and miso); seasoned sesame leaves (with cayenne and garlic); pickled yellow radish; and garlic stem kimchi (flavored with garlic, sesame, and pepper paste).

This last picture illustrates how we often eat vegetables with dinner. We’ll cook an entrée and starch, but serve the vegetables family-style in their original plastic containers; everyone can serve themselves. It makes for a nice buffet of vegetables with very little labor.

Kimchi Soups and Stews

As kimchi gets older, it becomes sour as acidic fermentation products build up, and the mix of bacterial species tends to change to a less probiotic mix.

Older kimchi will therefore be put in soups and stews and boiled to remove bacteria and dilute the sour taste.

Some examples can be seen in this trailer for an upcoming US public television series, “Kimchi Chronicles”. First, a promo introducing the series:

This longer trailer shows an example of using older kimchi as an ingredient in a stew:

How to Make Kimchi

Here’s a video showing how to make kimchi at home:

Conclusion

It’s a good idea to find some flavors of kimchi, or other fermented vegetables like pickles or sauerkraut, that you like. It’s an inexpensive and nourishing way to obtain probiotic bacteria; and a convenient and easy way to eat vegetables!
References

[1] Cho J et al. Microbial population dynamics of kimchi, a fermented cabbage product. FEMS Microbiol Lett. 2006 Apr;257(2):262-7. http://pmid.us/16553862.

[2] Won TJ et al. Modulation of Th1/Th2 Balance by Lactobacillus Strains Isolated from Kimchi via Stimulation of Macrophage Cell Line J774A.1 In Vitro. J Food Sci. 2011 Mar;76(2):H55-H61. http://pmid.us/21535768.

[3] Won TJ et al. Oral administration of Lactobacillus strains from Kimchi inhibits atopic dermatitis in NC?/?Nga mice. J Appl Microbiol. 2011 May;110(5):1195-202. http://pmid.us/21338447.