Category Archives: Food - Page 10

French Fried Potatoes and Sweet Potatoes

We had a reader request for “classic American dishes.” We decided to start with French fries.

Ingredients

The ingredients are simple:

  • We made three flavors using russet potatoes, Asian sweet potatoes, and American sweet potatoes.
  • For oil we used the Beef Tallow that we showed how to make last week.

Preparation

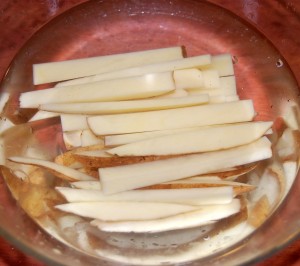
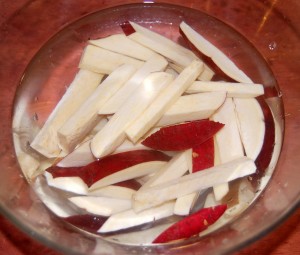
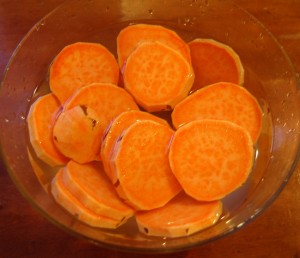
Start by cutting uncooked potatoes or sweet potatoes into appropriate shapes. We favor finger-sized slices or thin chips, and keeping the skin on. Here are russet potatoes, Asian sweet potatoes, and American sweet potatoes:

After slicing, soak them in a bowl of water as shown above. The purpose of this is to draw out starch. You can rub the potato with your fingers: it will feel slimy as long as there is starch there. You may need to rinse the potatoes 3-4 times to remove the starch. When you’re done, the slimy feel should be gone and the water should be clear.

Removing the starch will make the French fries crispy.

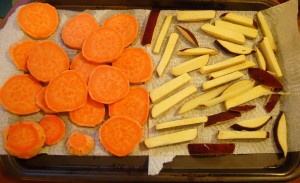
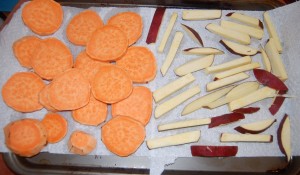
After the starch is removed, lay the fries out to dry:

It is important that they dry thoroughly. There must be no water when they are cooked. Drying takes at least 30 minutes.

Frying the potatoes occurs in two parts: once to cook the potatoes through, and a second time to make them crispy.

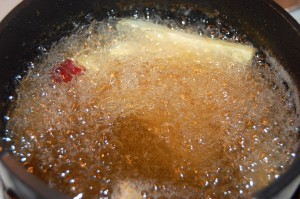
Put beef tallow (or whatever oil you are using) into a saucepan to a depth of a few inches, and heat it to a middling temperature about 275 F / 135 C. Add as many dried potato slices as will fit in the oil:

It doesn’t take long to cook: about 3 to 5 minutes. When they’re done, remove the fries; we used chopsticks.

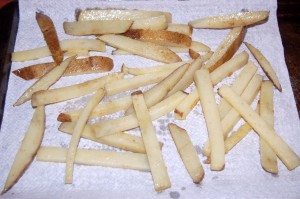
At this stage the fries will look like this:

Set the fries aside for at least 10 minutes — 30 minutes is safer — to let them cool. They should be comfortable to the touch. If you want to freeze fries for future use, this would be a good stage to put them in the freezer.

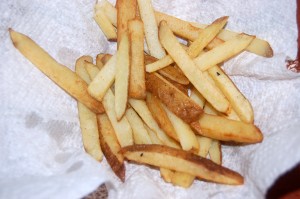
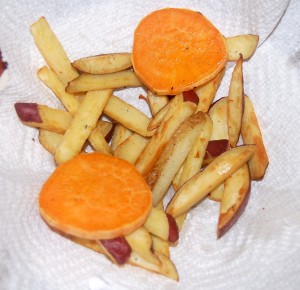
But if you’re finishing the fries now, heat the oil to a high temperature — more like 350 F / 175 C, which is almost to the smoke point of most cooking oils — and return the cooled fries to the oil. Leave them in for just 2 to 3 minutes and remove. This will make the fries crispy, looking like this:

Sprinkle salt and any other spices you like on them, and they’re done!

Conclusion

French fries are really easy, if a bit time consuming, to make, and really hard to stop eating.

Our potatoes and Japanese sweet potatoes were superb, but the American sweet potato discs were only good — a little soft. Perhaps this species has extra water, or perhaps the disc shape needs more cooking time than we gave it.

We use our beef tallow for at most 3 batches — that is, 3 rounds at the low temperature and again at the high temperature — and then discard it. Because beef tallow solidifies at room temperature and can clog pipes, don’t pour it down a kitchen drain; let it solidify and discard it as solid trash in an appropriate container.

French fries have a tremendous taste to expense ratio — especially if you’ve been able to get beef fat for free from your butcher, like Paolo! Highly recommended.

Beef Tallow

By reader request, we’re working on Perfect Health Diet versions of classic American foods. Next week we’ll start with French fries, then maybe chocolate chip cookies.

I think I mentioned once that we’ve been cooking with beef fat a lot. This is a little healthier than plant oils, since it has more phospholipids, cholesterol, and usable nutrients, lacks plant toxins, and is low in polyunsaturated fat.

Since we’re using beef fat to good effect in a lot of recipes, it’s about time to show how we render it.

Rendering Beef Fat

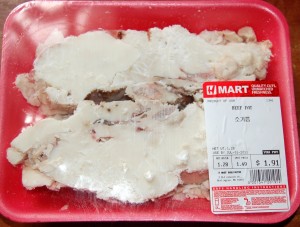
We buy blocks of beef fat from our local Asian supermarket. Here’s one:

This 1.28 lb (0.6 kg) package costs less than $2 and will make about 2 cups (0.5 liter) of oil.

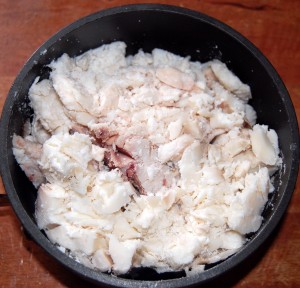
We normally keep the package in the freezer until a day before rendering, when we move it to the refrigerator to let the fat soften a little. The first step is to cut the fat block up into pieces with a knife, and transfer it to a suitably sized pot:

Many people add some water to the fat at this stage. The good side of this is that the water prevents the fat temperature from rising above 100ºC / 212ºF. The bad side is that it makes a mess. We prefer to do it without water.

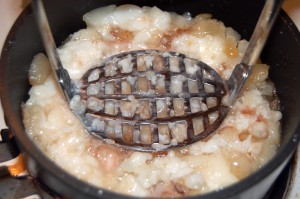
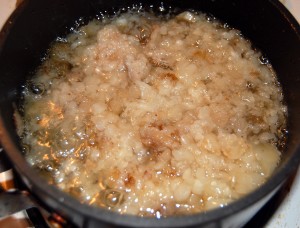
Start heating the fat at a very low setting and use a potato masher to break up the fat into finer pieces and squeeze out oil:

Soon it will look like this:

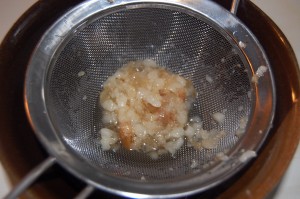
As soon as there is a significant amount of liquid oil, pour the fat and oil through a strainer to separate the liquid and solid fats:

The brown ceramic bowl is where we’re collecting the liquid oil. The solid fat caught in the strainer gets returned to the pot for more heating.

The reason for pulling out the oil is that beef fat contains a variety of components which have different melting points. In general, triglycerides containing short-chain and polyunsaturated fats have lower melting points, triglycerides containing long saturated fats high melting temperatures. Fats with lower melting points tend to be more chemically fragile. You don’t want to overheat the fragile oils, damaging them; but you need to be able to apply more heat to render the high melting temperature fats. The solution is to separate the oil from the fat several times, and gradually turn up the cooking temperature each time.

After the solid fat has been returned to the pot, you can turn the heat up a little bit, but not too much. We’ll do maybe 4 straining cycles before we’re done.

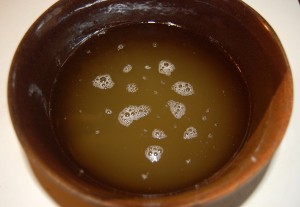
Here’s the oil collecting in our bowl:

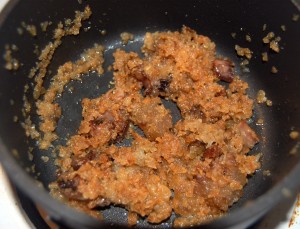
At the end, this is what remains:

We don’t consider these cracklings to be healthy, and discard them, but Wikipedia says that cracklings “are part of all traditional European cuisines.”

The oil can be returned to the refrigerator and used as needed as a cooking oil. It solidifies upon refrigeration, but can be cut into pieces with a knife.

The whole process takes about 30 minutes.

Conclusion

At $4/liter (quart), rendered beef fat is cheaper than olive oil or coconut oil. Since few people buy beef fat, and many butchers trim fat from meat and discard it, you may even be able to get some free from a friendly butcher.

Rendered beef fat stands up to high cooking temperatures, is more nutritious than plant oils, and tastes great. Especially, as we’ll see next week, on French fries.

Homemade Kimchi

After our post on Kimchi (May 15, 2011) we decided to start making our own fermented vegetables. Foods are always healthier when made at home, and you can adjust the ingredients to fit your taste.

I’m happy to say it’s been a big success. Our kimchi is tastier than store-bought kimchi, probably much healthier, and we’re eating more of it.

We’re making a number of different varieties, including white radish kimchi and cucumber and carrot kimchi. The methods are essentially the same, so we’ll just show you the traditional Korean cabbage kimchi.

Preparing the cabbage

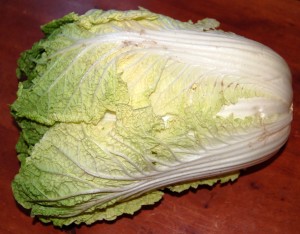
We used about 5 pounds (2.3 kg) Napa cabbage, about 1½ heads. A head looks like this:

The outer layer usually is dirty or has some damage, so we discard that. We also cut out the stem.

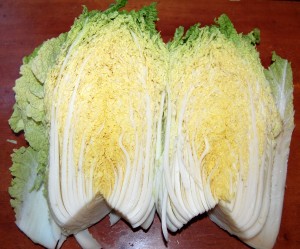
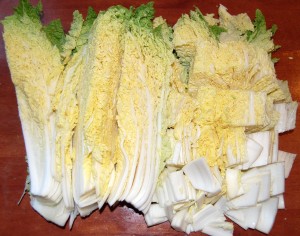
In the traditional methods, when kimchi was made at harvest and was meant to store vegetables through the winter, the head of cabbage would be kept whole. However, for household use it’s best to cut it immediately into bite-size pieces. We do that by cutting the head in half and then cutting cross-wise:

The next step is to salt and dehydrate the cabbage. The salt helps draw water out of the cabbage, preventing the kimchi from becoming watery or soupy, and also helps sterilize the cabbage for a more consistent fermentation.

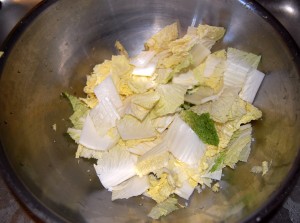
You’ll need a large bowl; stainless steel is good. Put a layer of cabbage – a handful is a good amount – and then sprinkle salt generously over it:

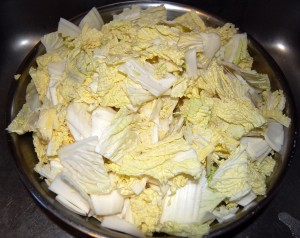
Continue layering in this way until all the cabbage is in:

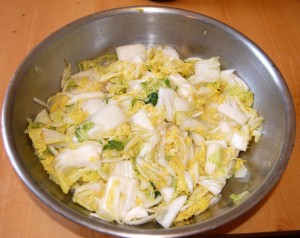
It will take about an hour for the salt to draw the water out of the cabbage. As that happens, water will begin collecting in the bowl, which you can drain. In the last half hour, periodically grab handfuls of the cabbage and squeeze them to drive out the water. When you’re done the volume of cabbage will be much reduced:

At this point you can wash the cabbage to remove any remaining salt and water:

Preparing the marinade

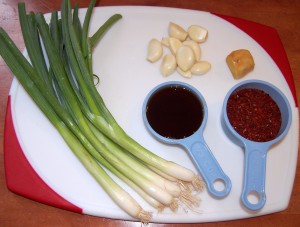
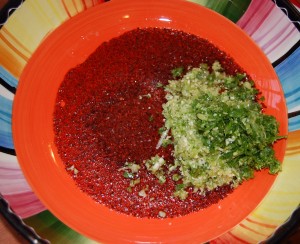
For our marinade we used green onions, garlic, ginger, coarsely ground cayenne pepper (sold in Korean stores as “red pepper powder”), and fish sauce.

We recommend about a ¼ cup of both fish sauce and red pepper in 5 pounds cabbage for a moderately spicy kimchi. The amount of fish sauce and of pepper is probably the biggest determinant of the kimchi’s taste.

Mince the ingredients and put them in a mixing bowl large enough to hold the cabbage:

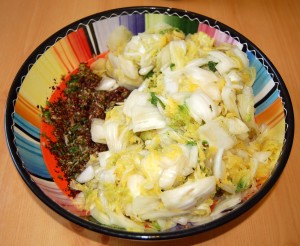
Add the cabbage a handful at a time and squeeze it to eliminate as much water as possible before adding it to the mix:

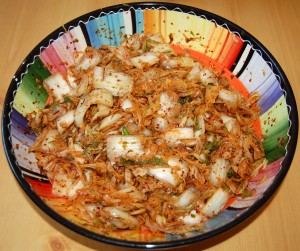
Mix all the ingredients thoroughly by hand until it looks something like this:

At this point you can taste the mixture and decide if it needs more salt or other spices. When you like the taste, it’s ready to begin fermenting.

Fermentation process

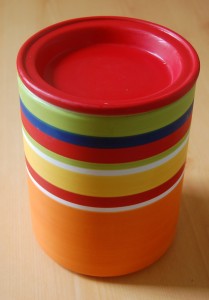
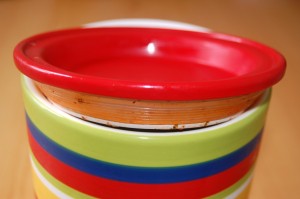
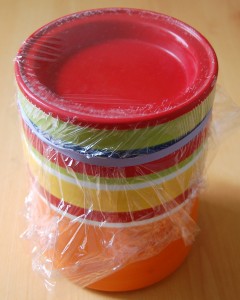
The most important tool you need is a suitable pickling or fermenting jar. It should be glass or ceramic and sealable. We chose a ceramic jar which is fairly inexpensive at Pier 1 Imports. It has an indentation in the lid which allows them to be stacked:

It also has ribbed plastic in the lid which makes a sort of seal, but we also seal it further with plastic wrap and a rubber band:

Keeping oxygen out helps assure that the bacterial species which develop are better suited to the anaerobic environment of the gut, creating a more probiotic mix of flora and preventing the kimchi from going bad as quickly.

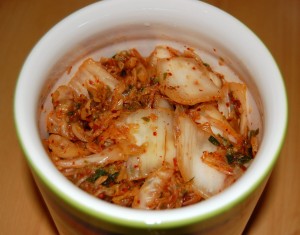
The jar should be clean and dry (sterile) before the kimchi mix is put in. It then looks like this:

To accelerate the fermentation, you can leave it out at room temperature overnight, or for two nights. After that, it should be kept refrigerated.
Our kimchi seems to last considerably longer than store-bought kimchi. Ours has still been good after 2 weeks.
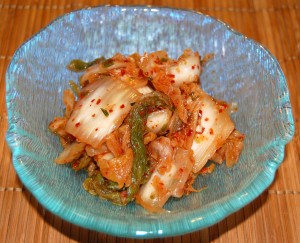
Eating the kimchi

We just pull out some at each meal:

The whole process is very easy – basically, just mix the ingredients and let nature take its course.

Kimchi goes best as a complement to fatty foods. Try a piece with each bite of ribeye steak https://perfecthealthdiet.com/?p=2775; or eat it with Cambridge Fried Rice.

Dumpling Rolls

This is our name for Chinese dumpling fillings in Vietnamese spring roll wrappers.

It could be described as a Perfect Health Diet-compatible Asian-style hamburger. Dumpling burgers? Hamburger rolls?

Ingredients

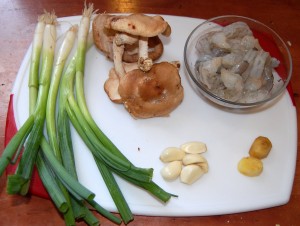
Here are some of the filling ingredients – green onion, shiitake mushroom, 1/2 lb shrimp, ginger, and garlic.

Other filling ingredients include 2 lb ground beef, 2 tsp fish sauce, 2 tsp soy sauce, and a pinch of salt. Traditionally Chinese dumplings contain ground pork, but we favor beef over pork.

You’ll also need spring roll wrappers, and for a dipping sauce rice vinegar and ginger.

Preparing the filling

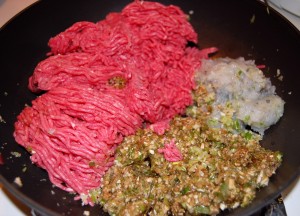
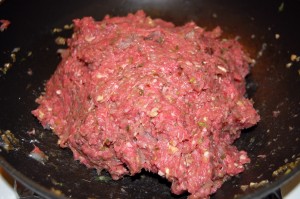
We minced all filling ingredients except the ground beef and shrimp in a food processor, pureed the shrimp separately, and combined them with the ground beef in an unheated wok. This is 2 lb ground beef, the shrimp, and the other filling ingredients before we mixed them:

This is what they look like after hand mixing:

Preparing the spring roll wrappers

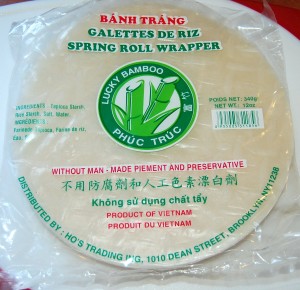
The easiest way to do this is to buy pre-made Vietnamese spring roll wrappers. You can see that the ingredients (tapioca, rice, salt, and water) are Perfect Health Diet-compatible.

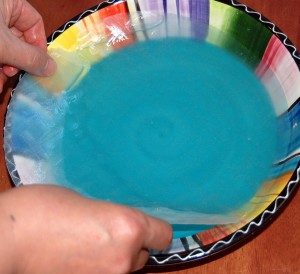
The wrappers need only be pre-soaked briefly in warm water, one by one, just before use:

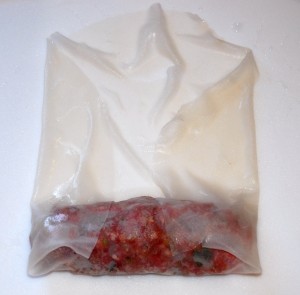
Once a wrapper is moist, soft, and flexible, spread it on a work surface and place some of the filling on it. Then wrap the wrapper around the filling, burrito-style:

Cooking

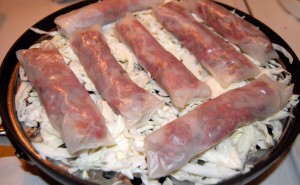
We recommend steaming the dumpling rolls. We used a wok with a steaming tray on top. To prevent the rolls from sticking to the steaming tray, we placed a bed of shredded cabbage between the steaming tray and the rolls:

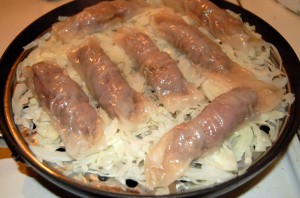
Pre-heat the water to a near-boil before placing the steamer tray on top. When ready to cook, cover the wok, bring the water back to a boil, and steam for 10 minutes. When the filling has changed color throughout, they’re done:

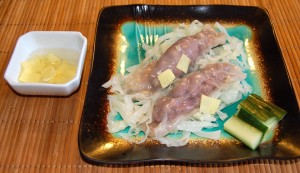
Serve them with the now-cooked cabbage, some cucumber slices, and a dipping sauce made from sliced ginger and rice vinegar:

Alternative cooking methods

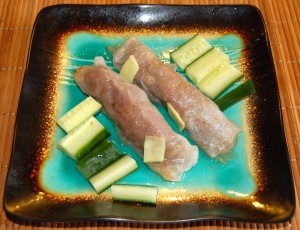
You can also fry the dumpling rolls, as here:

Conclusion

This is a very flexible dish: you can adjust the filling ingredients and dipping sauce to suit your taste. We quite liked this hamburger-like flavor, but next time we’ll probably use less ground beef and more shrimp. Or maybe we’ll try some cheese, onion, and tomato in the filling for a cheeseburger roll!