Yearly Archives: 2011 - Page 4

Gnocchi

We don’t recognize a huge number of starches as safe, so it’s nice to find ways to prepare our favorite safe starches that give a slightly different taste.

By happy coincidence, we were planning a Gnocchi post today, and Cathryn left a gnocchi recipe this morning:

I made these Gnocchi (potato dumplings) the other night and they were delicious and so easy, a kid could make them.  I used one potato (about 220 grams) boiled in the skin for about 30 minutes, left it to cool, then peeled it and mashed it up.  I added one beaten egg, a little sea salt and 20-30 grams of tapioca starch (the amount needed depends on the moisture content of the potato.  You want a fairly stiff dough).  Put it in the fridge til just before dinner, then took out the dough and using a board dusted with more tapioca starch, rolled it into a “rope” about 1 inch thick and then cut it into pieces about 1 inch long.  Dropped it into gently boiling water for about 2-3 minutes (the dumplings float), drained it, threw in chopped, fresh garden herbs and a lot of butter and had it with roasted chicken.  Really good, very versatile and a recipe that could be tweaked in numerous ways.

This was essentially our recipe too. We tested three kinds of starch – potato starch, tapioca starch, and rice flour – and liked the potato starch best, but all three worked. We made two kinds of sauces, a Bolognese-style sauce and a pesto sauce, but of course safe starches can be matched with anything – Cathryn’s herbs, butter, and roasted chicken sound great!

Making The Gnocchi

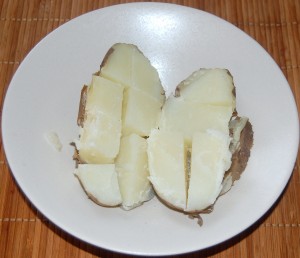
As Cathryn says, start by boiling a potato. It should be fully but not overcooked:

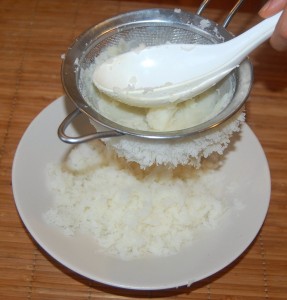
You want to break up any potato lumps and an easy way to assure that is to press the potato through a strainer:

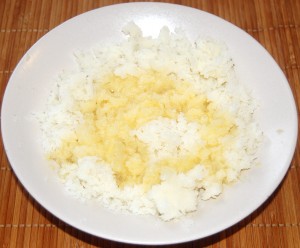
Wait until the potato is cool (otherwise the egg will cook) and mix in one egg per potato, and some salt:

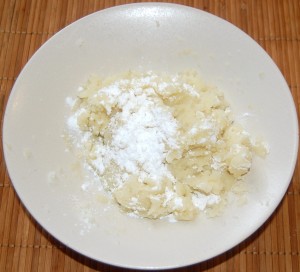
Add 1/3 cup potato starch (tapioca starch and rice flour may also be used, but we liked potato starch best:

Knead the resulting mixture into a dough and move to a cutting board. Gradually mix in additional starch, rolling and kneading the dough to mix thoroughly, until the consistency is similar to the fleshy part of your palm at the base of the thumb:

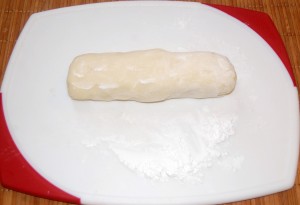
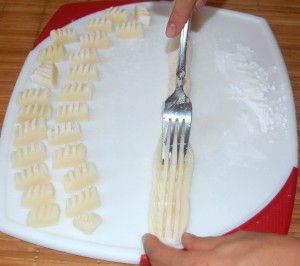
Once you like the consistency, you can divide the dough into pieces, roll them out, and carve little patterns in the rolls with a fork:

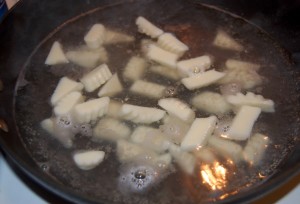
Dice up the dough into bite-size pieces and drop them into boiling water to finish cooking:

When they float, they’re done.

Making the Sauce

Any sauce will do. We’ve previously blogged about Pesto (Mar 27, 2011) and Bolognese style sauces (Cranky Grouch’s Spaghetti, Feb 6, 2011), but there are many possibilities. As in Cathryn’s recipe, just butter on potatoes is excellent, and with meat and vegetables makes a meal.

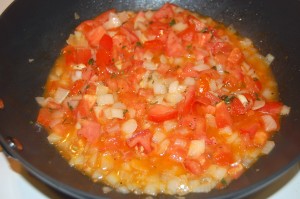
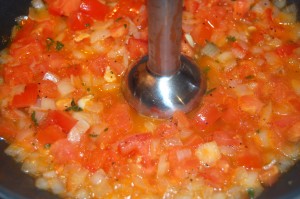
Here’s what we did today. We put onions, tomatoes, and garlic with a little oil and some herbs in a wok:

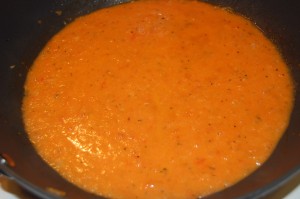
We have a hand blender that can puree vegetables in the pan, which is nice because it leaves less to clean up:

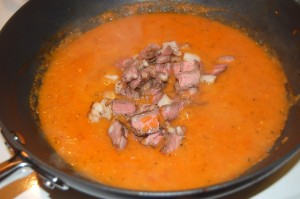
We had some leftover meat to get rid of, so that went in the sauce:

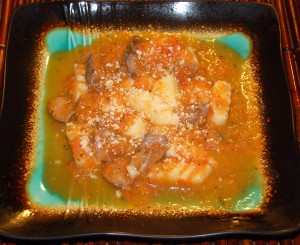
After a little simmering we spread the sauce over the gnocchi, added some parmesan cheese, and called it lunch:

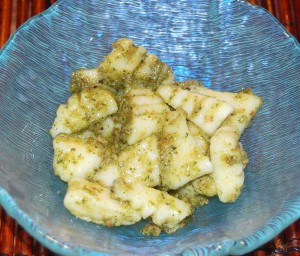
We also made a pesto sauce, this time with an equal mix of pistachio and macadamia nuts (highly recommended!):

Conclusion

Cathryn’s conclusion is just right:

Really good, very versatile and a recipe that could be tweaked in numerous ways.

Potatoes have great nutritional value (lots of potassium and other nutrients), but it’s easy to get bored with the texture.  Gnocchi has the same nutritional profile but a chewy, doughy texture that gives a different taste. Try it – you’ll like it!

Chocolate Chip Cookies

We have little baking experience, so we’re just beginning to learn how to make Perfect Health Diet compliant doughs and baked goods. This recipe turned out very well — unexpectedly well considering it was our first try. And it’s so easy; it takes less than half an hour.

Ingredients

Dry ingredients:

  • Rice flour 1 cup (optional: sticky rice flour)
  • Tapioca flour 1/3 cup
  • Baking soda 1/2 tsp
  • (optional) Beef gelatin 1 tablespoon

Wet ingredients:

  • Butter ½ cup (1 stick)
  • Egg yolks 3
  • Rice syrup 1/4 to 1/3 cup
  • Vanilla ¼ tsp

Flavorings

  • Chocolate chips
  • (optional) pistachios
  • (optional) raisins
  • (optional) pomegranate seeds

Preparation

Melt the butter (we used the microwave, about 20 seconds) in a mixing bowl. Add the other wet ingredients and mix thoroughly.

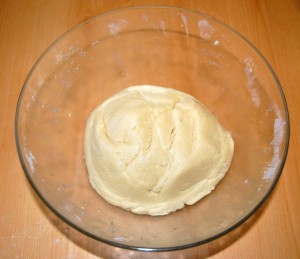
Mix in the dry ingredients until the dough has an even consistency. It will look like this:

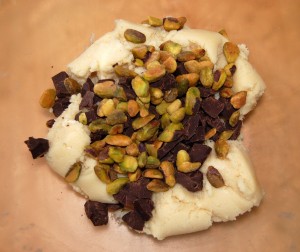
Then fold in some flavorings. We broke up some bulk dark chocolate and included pistachios:

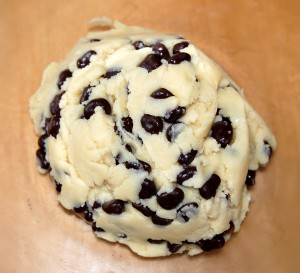
In another batch we tried chocolate covered raisins:

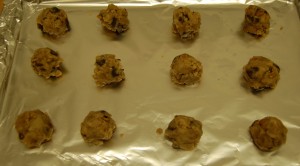
Place cookie-sized batches on an aluminum foil lined baking sheet:

The aluminum foil prevents the bottom of the cookies from burning.

Bake at 375 F for 10-12 minutes. Remove the cookies and let them cool for at least half an hour; after they are cooled, refrigerate them.

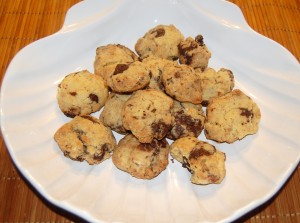
This was the chocolate and pistachio batch:

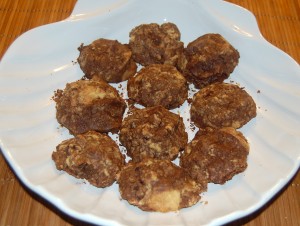
The chocolate covered raisins melted and produced brown cookies:

Post-eatem

The cookies were good – we were surprised how well they came out on our first attempt.

Shou-Ching really loved them, and so did our guests, but I thought the texture was drier and more crumbly than I would like. (Of course, I used to prefer uncooked dough to cookies, so I like things chewy.) This is a general issue with rice flour – it doesn’t hold together as well as gluten-containing flours. We tried both sticky rice flour and regular rice flour; I think the sticky rice flour might be very slightly better but it was difficult to detect a difference.

Here are some tweaks we’ll try next time:

  • Add more egg yolks. A little more fat might give a moister texture.
  • Try potato starch in place of tapioca flour.
  • Experiment with the protein. Most recipes either have no protein or use egg whites. We like the idea of a balanced mix of macronutrients, so we wanted to include a bit of protein. We tried the beef gelatin, partly because we have some around, and partly because gelatin mixed with water makes a good glue. We wondered if this might help the rice dough cohere. As yet we haven’t tested enough variations to know whether this was a good or bad idea.

We’d love to hear tips from more experienced cookie chefs – and reviews from the most honest critics, young children!
French Fried Potatoes and Sweet Potatoes

We had a reader request for “classic American dishes.” We decided to start with French fries.

Ingredients

The ingredients are simple:

  • We made three flavors using russet potatoes, Asian sweet potatoes, and American sweet potatoes.
  • For oil we used the Beef Tallow that we showed how to make last week.

Preparation

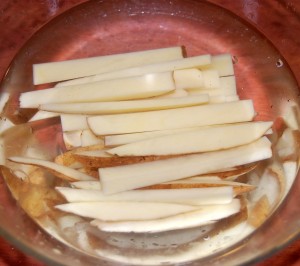
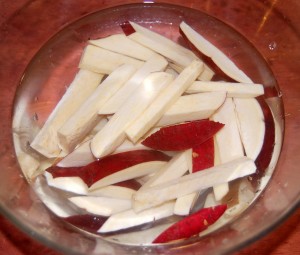
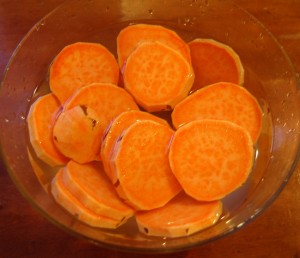
Start by cutting uncooked potatoes or sweet potatoes into appropriate shapes. We favor finger-sized slices or thin chips, and keeping the skin on. Here are russet potatoes, Asian sweet potatoes, and American sweet potatoes:

After slicing, soak them in a bowl of water as shown above. The purpose of this is to draw out starch. You can rub the potato with your fingers: it will feel slimy as long as there is starch there. You may need to rinse the potatoes 3-4 times to remove the starch. When you’re done, the slimy feel should be gone and the water should be clear.

Removing the starch will make the French fries crispy.

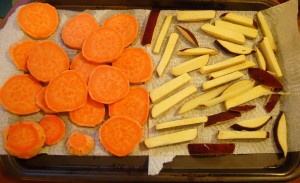
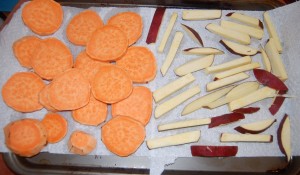
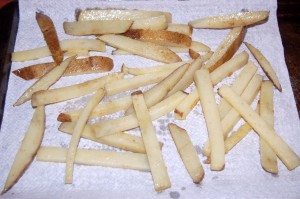
After the starch is removed, lay the fries out to dry:

It is important that they dry thoroughly. There must be no water when they are cooked. Drying takes at least 30 minutes.

Frying the potatoes occurs in two parts: once to cook the potatoes through, and a second time to make them crispy.

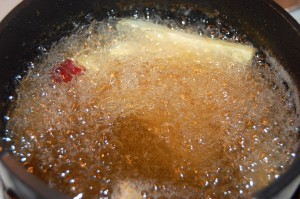
Put beef tallow (or whatever oil you are using) into a saucepan to a depth of a few inches, and heat it to a middling temperature about 275 F / 135 C. Add as many dried potato slices as will fit in the oil:

It doesn’t take long to cook: about 3 to 5 minutes. When they’re done, remove the fries; we used chopsticks.

At this stage the fries will look like this:

Set the fries aside for at least 10 minutes — 30 minutes is safer — to let them cool. They should be comfortable to the touch. If you want to freeze fries for future use, this would be a good stage to put them in the freezer.

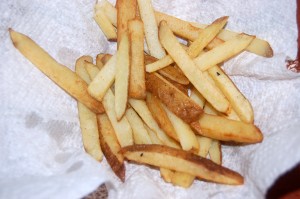
But if you’re finishing the fries now, heat the oil to a high temperature — more like 350 F / 175 C, which is almost to the smoke point of most cooking oils — and return the cooled fries to the oil. Leave them in for just 2 to 3 minutes and remove. This will make the fries crispy, looking like this:

Sprinkle salt and any other spices you like on them, and they’re done!

Conclusion

French fries are really easy, if a bit time consuming, to make, and really hard to stop eating.

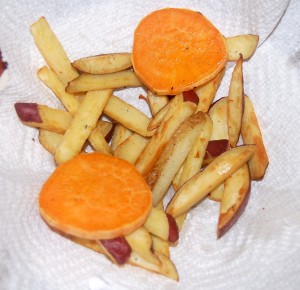
Our potatoes and Japanese sweet potatoes were superb, but the American sweet potato discs were only good — a little soft. Perhaps this species has extra water, or perhaps the disc shape needs more cooking time than we gave it.

We use our beef tallow for at most 3 batches — that is, 3 rounds at the low temperature and again at the high temperature — and then discard it. Because beef tallow solidifies at room temperature and can clog pipes, don’t pour it down a kitchen drain; let it solidify and discard it as solid trash in an appropriate container.

French fries have a tremendous taste to expense ratio — especially if you’ve been able to get beef fat for free from your butcher, like Paolo! Highly recommended.

Beef Tallow

By reader request, we’re working on Perfect Health Diet versions of classic American foods. Next week we’ll start with French fries, then maybe chocolate chip cookies.

I think I mentioned once that we’ve been cooking with beef fat a lot. This is a little healthier than plant oils, since it has more phospholipids, cholesterol, and usable nutrients, lacks plant toxins, and is low in polyunsaturated fat.

Since we’re using beef fat to good effect in a lot of recipes, it’s about time to show how we render it.

Rendering Beef Fat

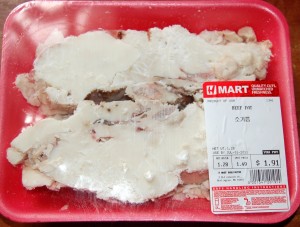
We buy blocks of beef fat from our local Asian supermarket. Here’s one:

This 1.28 lb (0.6 kg) package costs less than $2 and will make about 2 cups (0.5 liter) of oil.

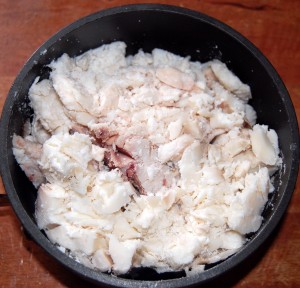
We normally keep the package in the freezer until a day before rendering, when we move it to the refrigerator to let the fat soften a little. The first step is to cut the fat block up into pieces with a knife, and transfer it to a suitably sized pot:

Many people add some water to the fat at this stage. The good side of this is that the water prevents the fat temperature from rising above 100ºC / 212ºF. The bad side is that it makes a mess. We prefer to do it without water.

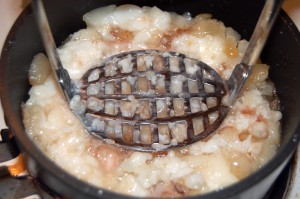
Start heating the fat at a very low setting and use a potato masher to break up the fat into finer pieces and squeeze out oil:

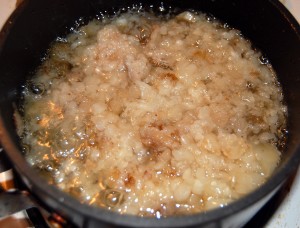
Soon it will look like this:

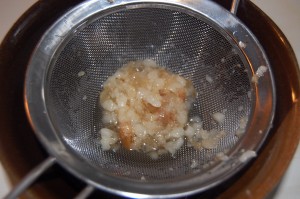
As soon as there is a significant amount of liquid oil, pour the fat and oil through a strainer to separate the liquid and solid fats:

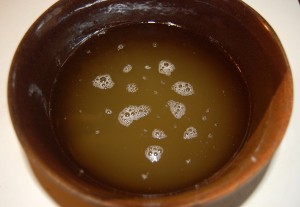
The brown ceramic bowl is where we’re collecting the liquid oil. The solid fat caught in the strainer gets returned to the pot for more heating.

The reason for pulling out the oil is that beef fat contains a variety of components which have different melting points. In general, triglycerides containing short-chain and polyunsaturated fats have lower melting points, triglycerides containing long saturated fats high melting temperatures. Fats with lower melting points tend to be more chemically fragile. You don’t want to overheat the fragile oils, damaging them; but you need to be able to apply more heat to render the high melting temperature fats. The solution is to separate the oil from the fat several times, and gradually turn up the cooking temperature each time.

After the solid fat has been returned to the pot, you can turn the heat up a little bit, but not too much. We’ll do maybe 4 straining cycles before we’re done.

Here’s the oil collecting in our bowl:

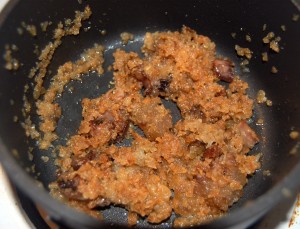
At the end, this is what remains:

We don’t consider these cracklings to be healthy, and discard them, but Wikipedia says that cracklings “are part of all traditional European cuisines.”

The oil can be returned to the refrigerator and used as needed as a cooking oil. It solidifies upon refrigeration, but can be cut into pieces with a knife.

The whole process takes about 30 minutes.

Conclusion

At $4/liter (quart), rendered beef fat is cheaper than olive oil or coconut oil. Since few people buy beef fat, and many butchers trim fat from meat and discard it, you may even be able to get some free from a friendly butcher.

Rendered beef fat stands up to high cooking temperatures, is more nutritious than plant oils, and tastes great. Especially, as we’ll see next week, on French fries.