Yearly Archives: 2011 - Page 5

Homemade Kimchi

After our post on Kimchi (May 15, 2011) we decided to start making our own fermented vegetables. Foods are always healthier when made at home, and you can adjust the ingredients to fit your taste.

I’m happy to say it’s been a big success. Our kimchi is tastier than store-bought kimchi, probably much healthier, and we’re eating more of it.

We’re making a number of different varieties, including white radish kimchi and cucumber and carrot kimchi. The methods are essentially the same, so we’ll just show you the traditional Korean cabbage kimchi.

Preparing the cabbage

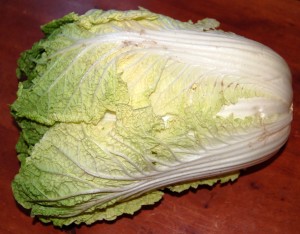
We used about 5 pounds (2.3 kg) Napa cabbage, about 1½ heads. A head looks like this:

The outer layer usually is dirty or has some damage, so we discard that. We also cut out the stem.

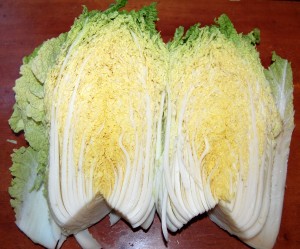
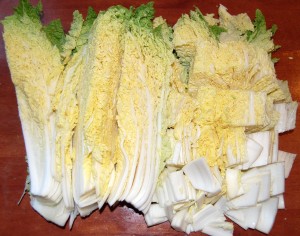
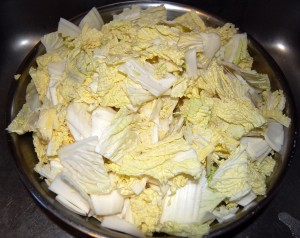
In the traditional methods, when kimchi was made at harvest and was meant to store vegetables through the winter, the head of cabbage would be kept whole. However, for household use it’s best to cut it immediately into bite-size pieces. We do that by cutting the head in half and then cutting cross-wise:

The next step is to salt and dehydrate the cabbage. The salt helps draw water out of the cabbage, preventing the kimchi from becoming watery or soupy, and also helps sterilize the cabbage for a more consistent fermentation.

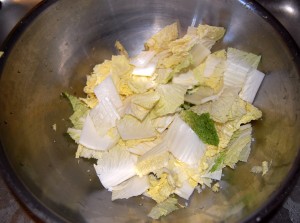
You’ll need a large bowl; stainless steel is good. Put a layer of cabbage – a handful is a good amount – and then sprinkle salt generously over it:

Continue layering in this way until all the cabbage is in:

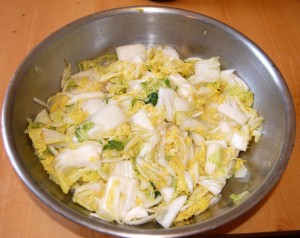
It will take about an hour for the salt to draw the water out of the cabbage. As that happens, water will begin collecting in the bowl, which you can drain. In the last half hour, periodically grab handfuls of the cabbage and squeeze them to drive out the water. When you’re done the volume of cabbage will be much reduced:

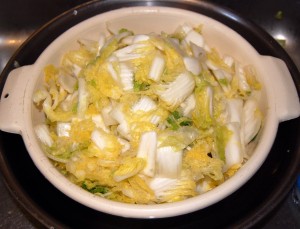
At this point you can wash the cabbage to remove any remaining salt and water:

Preparing the marinade

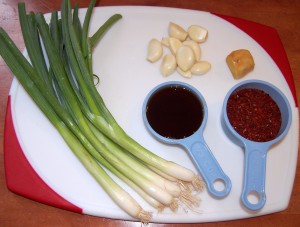
For our marinade we used green onions, garlic, ginger, coarsely ground cayenne pepper (sold in Korean stores as “red pepper powder”), and fish sauce.

We recommend about a ¼ cup of both fish sauce and red pepper in 5 pounds cabbage for a moderately spicy kimchi. The amount of fish sauce and of pepper is probably the biggest determinant of the kimchi’s taste.

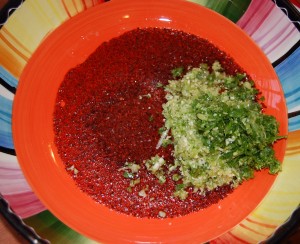
Mince the ingredients and put them in a mixing bowl large enough to hold the cabbage:

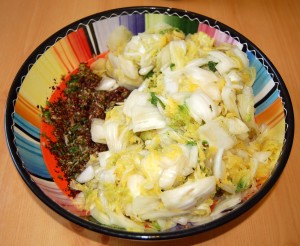
Add the cabbage a handful at a time and squeeze it to eliminate as much water as possible before adding it to the mix:

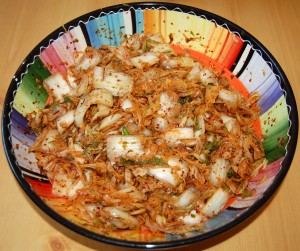
Mix all the ingredients thoroughly by hand until it looks something like this:

At this point you can taste the mixture and decide if it needs more salt or other spices. When you like the taste, it’s ready to begin fermenting.

Fermentation process

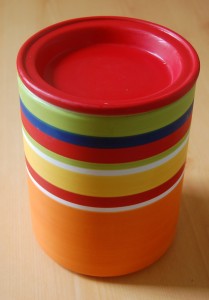
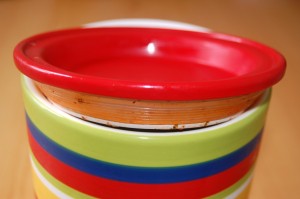
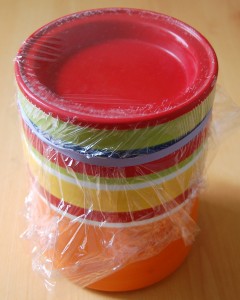
The most important tool you need is a suitable pickling or fermenting jar. It should be glass or ceramic and sealable. We chose a ceramic jar which is fairly inexpensive at Pier 1 Imports. It has an indentation in the lid which allows them to be stacked:

It also has ribbed plastic in the lid which makes a sort of seal, but we also seal it further with plastic wrap and a rubber band:

Keeping oxygen out helps assure that the bacterial species which develop are better suited to the anaerobic environment of the gut, creating a more probiotic mix of flora and preventing the kimchi from going bad as quickly.

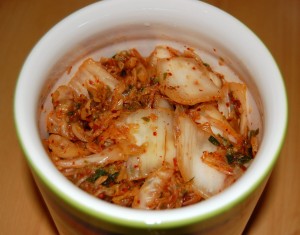
The jar should be clean and dry (sterile) before the kimchi mix is put in. It then looks like this:

To accelerate the fermentation, you can leave it out at room temperature overnight, or for two nights. After that, it should be kept refrigerated.

Our kimchi seems to last considerably longer than store-bought kimchi. Ours has still been good after 2 weeks.

Eating the kimchi

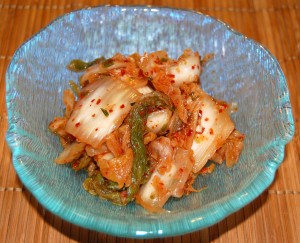
We just pull out some at each meal:

The whole process is very easy – basically, just mix the ingredients and let nature take its course.

Kimchi goes best as a complement to fatty foods. Try a piece with each bite of ribeye steak https://perfecthealthdiet.com/?p=2775; or eat it with Cambridge Fried Rice.

Dumpling Rolls

This is our name for Chinese dumpling fillings in Vietnamese spring roll wrappers.

It could be described as a Perfect Health Diet-compatible Asian-style hamburger. Dumpling burgers? Hamburger rolls?

Ingredients

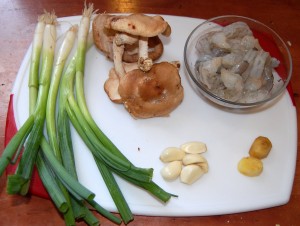
Here are some of the filling ingredients – green onion, shiitake mushroom, 1/2 lb shrimp, ginger, and garlic.

Other filling ingredients include 2 lb ground beef, 2 tsp fish sauce, 2 tsp soy sauce, and a pinch of salt. Traditionally Chinese dumplings contain ground pork, but we favor beef over pork.

You’ll also need spring roll wrappers, and for a dipping sauce rice vinegar and ginger.

Preparing the filling

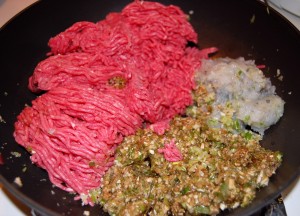
We minced all filling ingredients except the ground beef and shrimp in a food processor, pureed the shrimp separately, and combined them with the ground beef in an unheated wok. This is 2 lb ground beef, the shrimp, and the other filling ingredients before we mixed them:

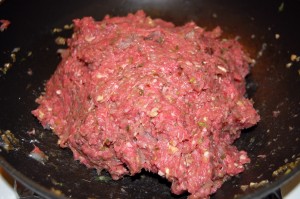
This is what they look like after hand mixing:

Preparing the spring roll wrappers

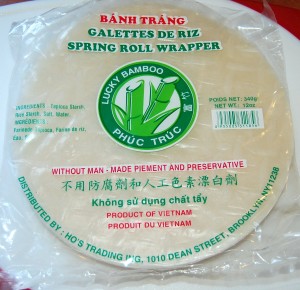
The easiest way to do this is to buy pre-made Vietnamese spring roll wrappers. You can see that the ingredients (tapioca, rice, salt, and water) are Perfect Health Diet-compatible.

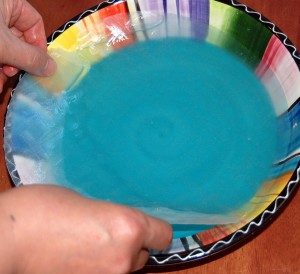
The wrappers need only be pre-soaked briefly in warm water, one by one, just before use:

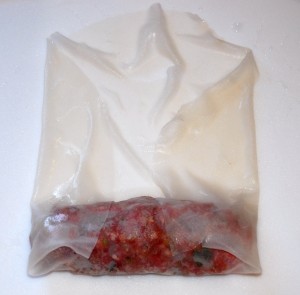
Once a wrapper is moist, soft, and flexible, spread it on a work surface and place some of the filling on it. Then wrap the wrapper around the filling, burrito-style:

Cooking

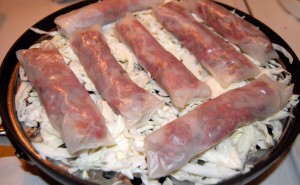
We recommend steaming the dumpling rolls. We used a wok with a steaming tray on top. To prevent the rolls from sticking to the steaming tray, we placed a bed of shredded cabbage between the steaming tray and the rolls:

Pre-heat the water to a near-boil before placing the steamer tray on top. When ready to cook, cover the wok, bring the water back to a boil, and steam for 10 minutes. When the filling has changed color throughout, they’re done:

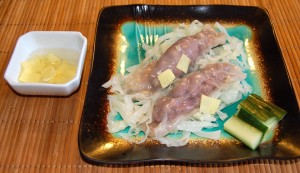
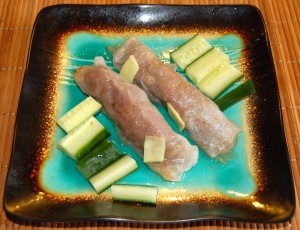
Serve them with the now-cooked cabbage, some cucumber slices, and a dipping sauce made from sliced ginger and rice vinegar:

Alternative cooking methods

You can also fry the dumpling rolls, as here:

Conclusion

This is a very flexible dish: you can adjust the filling ingredients and dipping sauce to suit your taste. We quite liked this hamburger-like flavor, but next time we’ll probably use less ground beef and more shrimp. Or maybe we’ll try some cheese, onion, and tomato in the filling for a cheeseburger roll!

Crème Brûlée

Robert Evans once questioned whether crème bruelle (which I assume is another name for crème brûlée) was PHD-compliant.

It is, and we decided to make some. It turns out it’s real easy.

Ingredients

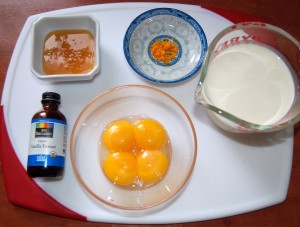
Here’s what we used: ¼ cup rice syrup, orange zest, 1 cup heavy cream, 4 egg yolks, and about 5 drops vanilla extract. The orange zest is optional; lemon juice or a bit of lemon zest could also be used.

Cooking

Preheat the oven to 325 F (160 C).

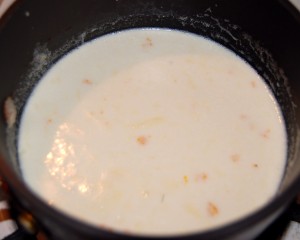
Combine heavy cream, rice syrup, orange zest, and vanilla extract in a sauce pan and warm it at low heat for 5 minutes or so until it is tiny bubbles appear but it is not boiling.

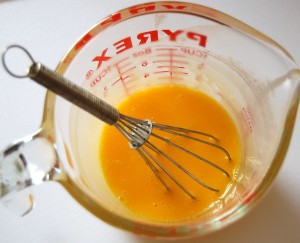
While the cream mixture is warming, whisk the egg yolk.

Transfer the cream mixture a little bit at a time into the egg yolk and continue whisking, until all of the cream has been transferred.

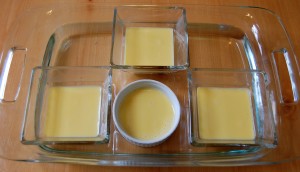
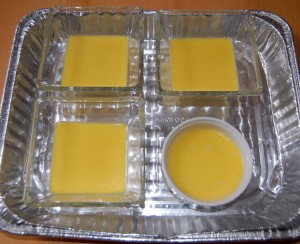
Then distribute the mixture into smaller containers suitable for serving, and place the small containers into a few inches of near-boiling water in an oven-safe pan:

Place the whole pan into the oven for 25 minutes at 325 F. After 20-25 minutes take a small container out and shake it; if the custard is firm then it’s done.

Remove the small containers and refrigerate them for at least 2 hours. We refrigerated them in this aluminum pan:

Once they are cold, the traditional recipe calls for sprinkling sugar on top and then caramelizing it with a blowtorch (or a broiler if the blowtorch is lacking).

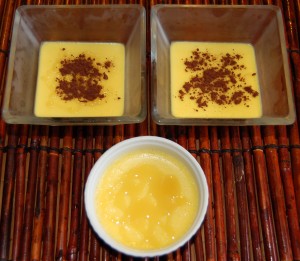
Well, we didn’t have a blowtorch and didn’t feel obliged to caramelize our rice syrup, so we simply drizzled our custard with rice syrup or sprinkled it with cocoa powder:

It was delicious! Served cold, it’s great for summertime.

Chicken Tikka Masala

Chicken Tikka Masala is chicken tikka, or chicken chunks marinated in spices and yogurt and roasted or baked in a tandoor oven, and served in a masala (mixed spices) sauce. It is so popular in Britain that the British Foreign Secretary once called it “a true British national dish”. Some think it may even have been invented in London.

There are many ways to make it, and traditional Indian cooking methods are quite time-consuming; they may involve grinding the spices on the day of cooking for freshness, and long cooking to produce very tender meats.

We chose to make it in the quickest possible way. Here’s our approach to Chicken Tikka Masala.

Ingredients

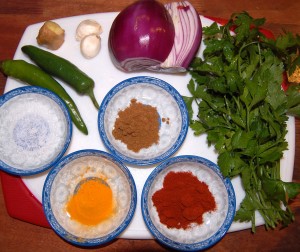
Here are the main spices we used:

In the center is a masala curry powder that we bought from a local Indian shop. Unfortunately we no longer know the ingredients, but we would expect it to contain cumin, pepper, cloves, cardamom, and coriander among other spices.

Clockwise from upper left are jalapeno peppers, ginger root, garlic, onion, parsley, paprika, turmeric, and xylitol which we included for a bit of sweetness. Quantities were 1 tbsp of each spice and 1 tsp of the xylitol.

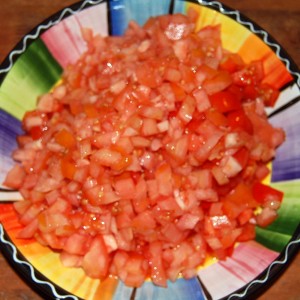
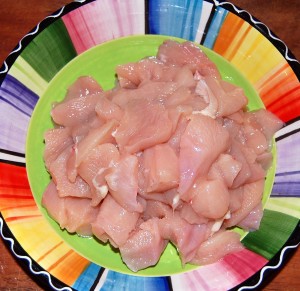
We also diced 3 large tomatoes (weighing about 1.5 pound) and a chicken breast into bite-sized pieces:

Preparing the sauce

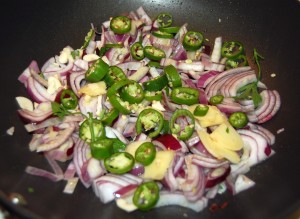
We melted some beef tallow in a wok and stir-fried the pepper, onion, ginger, and garlic for 5 minutes to bring out some of the flavor:

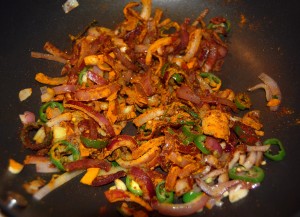
The ginger and garlic should be minced finely. After 5 minutes we added all the spices:

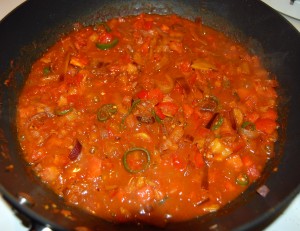
After another 2 minutes we added the tomato and cooked for 15 minutes:

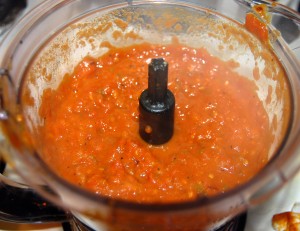
Then we transferred the cooked sauce to a food processor and pureed it:

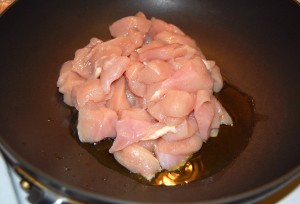
In another wok, while the sauce was cooking, we browned the chicken pieces in olive oil:

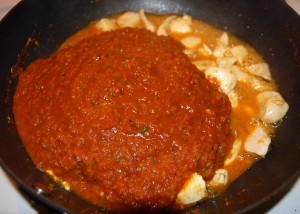
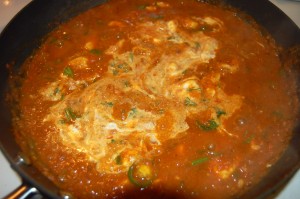
Once the chicken was browned, but well before it was cooked through, we added the pureed sauce and parsley:

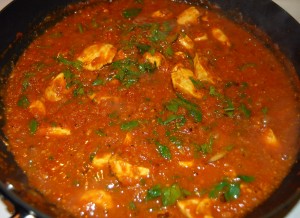
Cook the chicken in the sauce for 15 minutes, and then add some Greek yogurt:

That’s it — it took us about 40 minutes. Serve it over rice:

Conclusion

The sauce was delicious! We kept some extra and tried it over salmon — it was even better with the salmon.