Category Archives: Food - Page 16

Homemade Seasoned Seaweed

Most Americans, if they ever tried seaweed at all, probably gave up on it after the first try because it is either very tough (kelp) or bland (nori).

However, well-prepared seaweed can be very tasty as well as extremely nutritious.

Korean Seasoned Seaweed

Koreans have developed a wide menu of tasty seaweed snacks. The basic strategy is to soak seaweed in oil, season it, and bake it briefly. The oil and seasonings make the seaweed taste much better.

The only trouble is that, like most food products sold in this country, commercial varieties tend to use low-quality oils. On our supplement recommendations page, we mistakenly linked to some Korean seasoned seaweed products that used unhealthy oils – canola oil or corn oil. (We’ve since corrected that; the current versions use olive oil and sesame oil.) Commercial varieties are also unreasonably expensive (in our view).

But seasoned seaweed is very easy to make at home. Today we’ll show you how.

Ingredients

First, get some nori – the classic Japanese sushi seaweed. In Korea, seasoned seaweed is made from unroasted seaweed, but we used roasted nori and it worked just fine. Here’s what we used:

The sheets are about 8” by 8”. You’ll also need:

  • A healthy, low-omega-6 oil. We used olive oil on some sheets and coconut oil on others. Next time, we’ll try beef tallow and clarified butter.
  • Seasonings. We used sesame oil and sea salt.

Here was our work area:
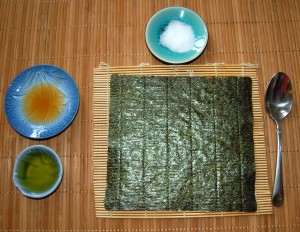
Spread the healthy oil on the seaweed. Each sheet will require about 1/2 to 1 teaspoon of oil (dried seaweed can really soak up oil). We favor using the back of a spoon to spread the oil.
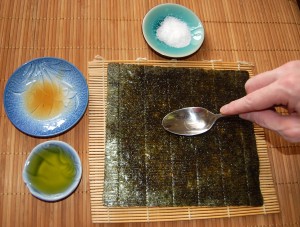
Sprinkle the salt (and any other seasonings) on the seaweed:
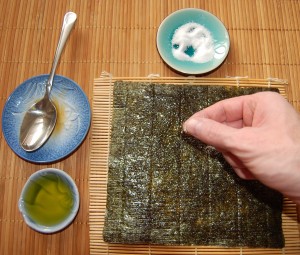
Place a new sheet on top of the previous one and repeat the application of oil and seasoning. It will pick up some oil and salt from the sheet underneath. In this photo, we’re applying coconut oil:
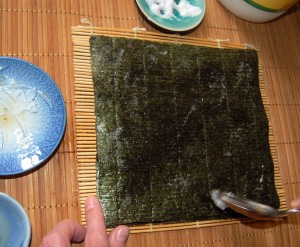
When you’ve finished your whole stack of sheets, place a few sheets on a baking sheet and bake at 350 degrees Fahrenheit (175 Celsius) for 2 minutes:
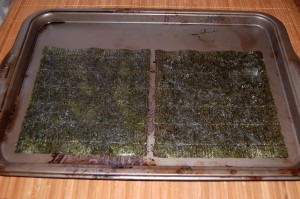
We baked each sheet individually, but it might be possible to bake a whole stack at once — we’ll try that next time.

The baked sheets may be easily folded and torn into more convenient sizes:
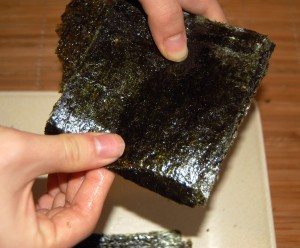
Here’s a finished stack:
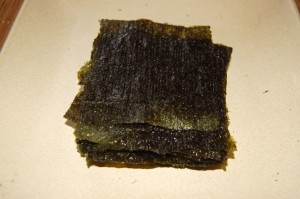
Voila! Just like grandma in Korea makes it. Eat the seaweed alone or with rice.

Unfit for the Paleo Rodeo

Diana Hsieh of the Modern Paleo blog does yeoman’s work running the Paleo Rodeo each week, which is a fun collection of Paleo posts. (Here’s this week’s rodeo.)

It turns out that a contribution got rejected from this week’s Rodeo as spam. It was titled “Linguine with Seafood Sun-dried Tomatoes and Lemon”:

I must admit that for a time I couldn’t see anything wrong with this meal, other than that it is rather light in the meat, vegetables, and sauce. But de gustibus non est disputandum. After a half minute of puzzlement I remembered that pasta is forbidden by conventional Paleo.

Of course, the Perfect Health Diet forbids wheat noodles but happily supports rice noodles. In our house we often have rice-noodle dishes, as I mentioned recently to Kratos.

I guess it’s just as well I didn’t submit Cambridge Fried Rice to the Rodeo!

Ox Feet Broth, Miso Soup, and Other Soups

We’ve mentioned that we prepare a soup broth every weekend and have soup as the first course of dinner most days of the following week.

But we haven’t mentioned that it’s possible to have a slightly different soup every night of the week. Here’s how.

The Broth

One of our favorite broths is a beef broth soup made from ox feet. First, find an Asian supermarket and buy some ox feet:

The ox feet will have been sawed so that collagen and sinews are exposed and can dissolve in the broth.

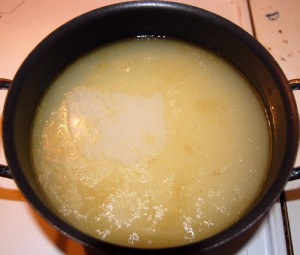
The longer you cook it, the more nutritious the broth gets. Here’s what it looks like after 3 hours:

There’s some fat on the top, which is delicious! You can also add some dried anchovy to the broth — say 10 anchovies per gallon — which we think improves the flavor.

When you eat the soup, be sure to eat the gelatin off the cooked ox feet. According to Ray Peat, this is very good for you.

The broth can serve as the base for a wide range of soups. Here are some of the ones we make.

Miso Soup

Miso is a classic Japanese soup. To make it, you’ll need Wakame seaweed and miso paste. The Wakame seaweed can be purchased at Amazon.com (see our supplement page). 

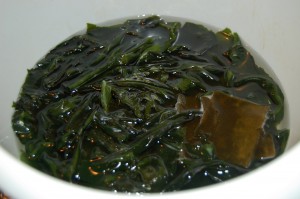
Wakame seaweed expands about five-fold in water, so use the dried seaweed judiciously. Set some aside to soak and expand in water:

Here we’ve also put some kelp (kombu) in the water. That’s the brownish square on the right. Kelp is much less tasty than wakame, but has more iodine.

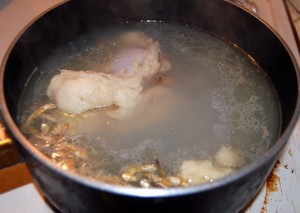
Put some of the ox feet broth with a few ox feet in a smaller pot for the evening’s soup. Here the broth includes some dried anchovies:

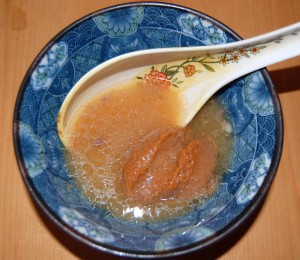
Put aside a small amount of the broth in a bowl and dissolve the miso paste in the broth. Make sure it is thoroughly mixed before returning it to the pot:

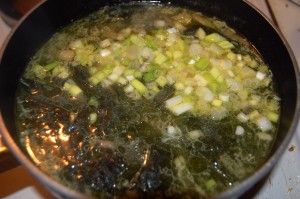
After the seaweed has expanded, add it to the soup and cook for half an hour. When it’s nearly done, add miso paste and scallions and cook another 5 minutes. It’s now ready to eat:

Other Choices

You can add any other ingredients you like to the broth to make soups of different flavors.

Here we’ve added diced potato, shiitake mushrooms, and scallions:

Here we’ve added egg, tomato, and scallion:

Here we’ve added sliced ribeye beef, enoki mushrooms, and cilantro. Since thin-sliced beef and enoki mushrooms cook very quickly, you can treat this like a Vietnamese “pho” and simply put the beef and mushrooms in a bowl and pour the hot broth over them:

The making of the broth is the only time-consuming part of this. After the broth is prepared on the weekend, new soups can be prepared in 15-30 minutes. Season each soup with salt, pepper, and your favorite spices.

Pumpkin Mousse (from erp)

We have been neglecting the blog to be with family, but luckily for us reader erp is much more diligent, and has sent us a recipe for Pumpkin Mousse.

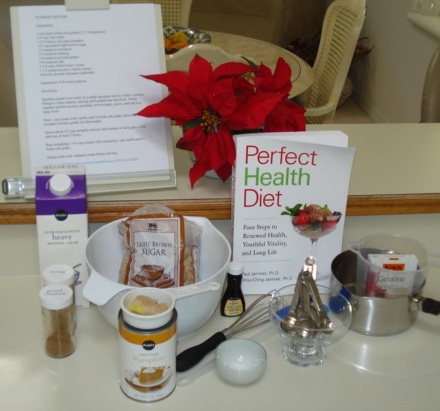
Erp tells us that this is her assemblage of ingredients:

We are quite pleased to see our book included, but be aware that this may provide too much roughage for some and can be excluded from the recipe!

A more conventional list of ingredients is:

  • 1 envelope unflavored gelatin (2 1/4 teaspoons)
  • 1/4 cup cold water
  • 1 (15-ounce) can pure pumpkin
  • 1/4 cup packed light brown sugar  (original recipe calls for 3/4 cup!!!)
  • 1/2 teaspoon cinnamon
  • 1/2 teaspoon nutmeg
  • 1/4 teaspoon ground ginger   
  • 1/8 teaspoon salt
  • 2 1/4 cups chilled heavy cream
  • 1 1/2 teaspoons pure vanilla extract
  • Garnish: ground cinnamon (optional)
  •  Equipment: 8 (8-ounce) glasses

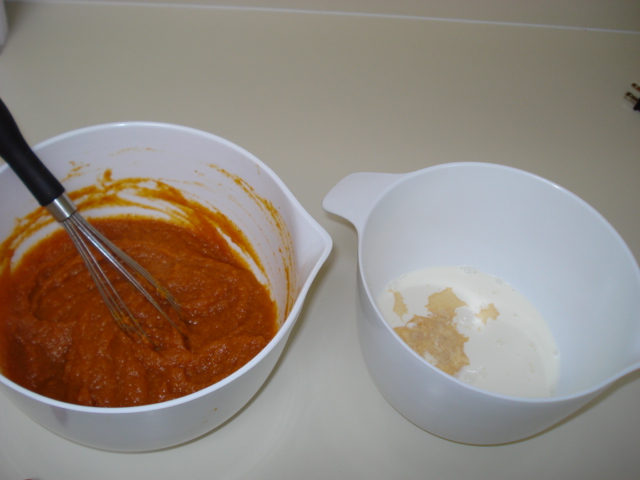
Sprinkle gelatin over water in a small saucepan and let soften 1 minute. Bring to a bare simmer, stirring until gelatin has dissolved. Whisk together gelatin mixture, pumpkin, brown sugar, spices, and salt in a large bowl.

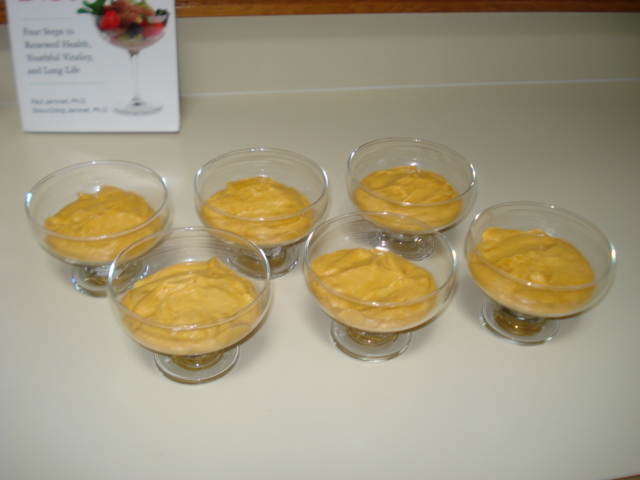
Beat 1 cup cream with ½ tsp. vanilla until it holds soft peaks, then fold into pumpkin mixture gently but thoroughly. Spoon about 1/2 cup pumpkin mixture into bottom of each glass. Here it is at this stage:

Chill until set, at least 2 hours.

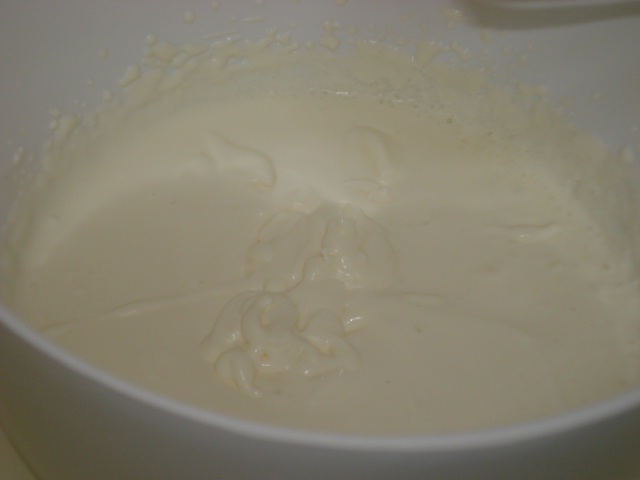
Meanwhile, beat remaining 1 1/4 cups cream with remaining 1 tsp vanilla until it holds soft peaks:

Dollop each with whipped cream before serving. Top with shaved dark chocolate or sprinkles if desired. The finished product:

Hat tip: KitchenDaily.com.

Thanks erp!