Category Archives: Sauces

Chicken, Shrimp, and Egg Salad

This is a simple dish which Shou-Ching’s father used to make for them as children. It can use almost any meat – whatever you have handy. And it cooks in only a few minutes.

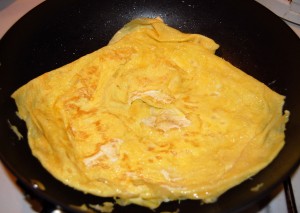
Eggs are always worth including. Cook some eggs in a wok at low heat with a healthy oil (we used butter, olive oil or coconut oil will do):

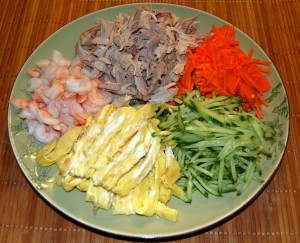
We added pre-cooked shrimp, and some shredded chicken meat left over from a chicken soup. With shredded carrot and cucumber, it was served like this:

Next you need a sauce. Ours was made by mixing:

  • 3 tbsp rice vinegar
  • 1 tsp Dijon mustard
  • 2 garlic cloves, crushed
  • Salt and pepper
  • 4 tbsp olive oil
  • 1 tbsp almond butter (or crushed nuts, or nut butter of your choice)
  • Optional: a few drops of soy sauce and sesame oil

The sauce is crucial for the dish; we consider rice vinegar and Dijon mustard essential. If you are serving children, add a little sweetness to the sauce with some rice syrup or diced fruit.

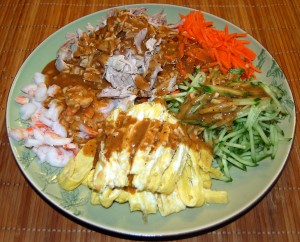
Drizzle the sauce over the food:

By the way, this is a good sauce also for any “safe starches” you may include in your meal. As discussed in “How to Minimize Hyperglycemic Toxicity,” Oct 20, 2011, mixing vinegar and fats or oils with starches will reduce their impact on blood glucose levels.

Serve the chicken, shrimp, and egg salad with white rice, Homemade Seasoned Seaweed (Jan 9, 2011) or Fermented Mixed Vegetables (Nov 27, 2011), and you have a complete meal in a traditional style of Asian home cooking. Don’t be shy to mix all the food together!

Mussels in Thai Curry Sauce

We recommend eating shellfish, for their nutritional content and lack of omega-6 fats.

At least in New England, mussels are inexpensive and readily available. We pay around $3 per pound and they are in local supermarkets year-round.

Mussels make a good appetizer or main dish. We usually make them with one of three sauces: (1) A soy sauce based Asian sauce; (2) Pacific Sweet and Sour sauce; or (3) a Thai curry sauce. Today, it’ll be the Thai curry sauce.

Preparing the sauce

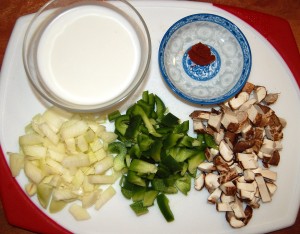
Our main ingredients were onions, peppers, shiitake mushrooms, coconut milk, and Thai Kitchen red curry paste:

Prepare the sauce in a wok – this is important because we’ll want to toss the mussels in the sauce later, and you’ll need the rounded sides.

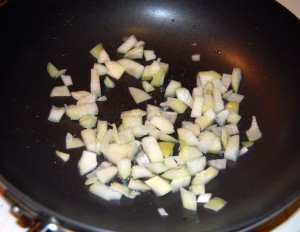
Soften the onions in a bit of oil – we used rendered beef tallow:

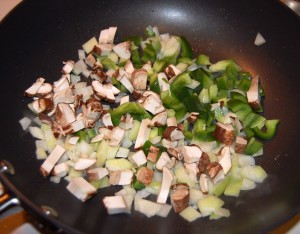
Add the peppers and mushrooms and cook them a bit:

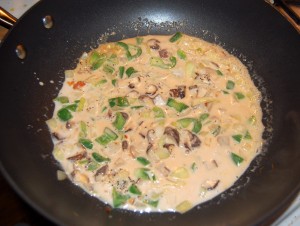
Then add the coconut milk, curry paste, salt, pepper, and other seasonings to taste:

Steaming the mussels

The key to cooking mussels is to steam them separately, flash-cooking them so they don’t overcook and become dry and tough, but cooking long enough to kill any bad bacteria.

While the sauce is cooking, start heating a few inches of water in a steamer pot. When the water is boiling and making steam, and the sauce is done, add the mussels to the steamer.

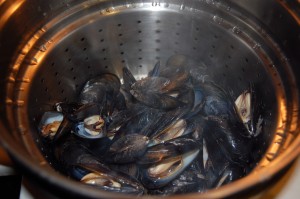
They’ll need two to five minutes to cook. You’ll know they’re done when the mussels open. You can hear them opening, or, if you have a glass lid to your steamer as we do, can watch them. Let the opened mussels steam briefly before removing the lid. When you open the lid the mussels should all be open:

Discard any mussels that failed to open. Immediately remove the steamer basket and let any liquid drain out.

Finishing

There’s no further cooking once the mussels have been steamed; all you have to do is transfer the mussels to the wok with the sauce, and mix them.

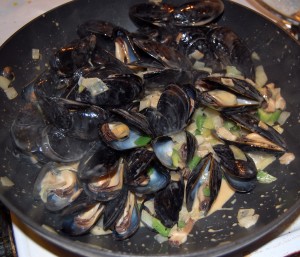
Once you’ve transferred the mussels to the work, toss the mussels in the wok until the mussels and sauce are thoroughly mixed:

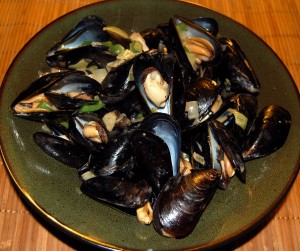
Transfer to a serving bowl, pouring any residual sauce over the mussels:

Enjoy!
Chicken Wings

A little while back on the recipes thread Gabrielle asked for breakfast ideas that provided protein and worked around some allergies:

Breakfast has become a source of stress for me. Here is why. I have celiac disease so gluten and actually all grains are out for me (except a little white rice which is why this program appeals to me so much). I really need quality protein in the morning to feel good all day but since my diagnosis I over ate eggs and am now allergic to them as well. I have tried bacon and sausage but no matter how organic they are they just don’t sit well in my system. And, whey protein is out for me since I am also allergic to dairy (so just in case you were keeping score I am allergic to gluten, grains, eggs, and dairy).

So, does anyone know of any recipe that might work for me in the mornings?

I suggested chicken wings. These are easy to make in large batches, last a long time, can be eaten cold or microwaves, and make a great party or lunch box food.

It seems only fair to provide our recipe.

Preparing the Chicken

Chicken wings can be purchased either pre-cut or whole. We used to buy them whole, but cutting whole wings into drumettes, wingettes, and tips with kitchen shears tripled the amount of work, so now we buy pre-cut drumettes and wingettes.

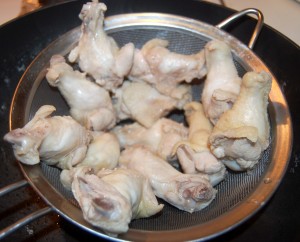
After they’re cut, the next step is to rinse the drumettes and wingettes and strain the water, letting them drip-dry for 5 to 10 minutes until they are just moist enough to hold a rice flour coatingpat the wings dry with a paper towel and then let them air dry for ~20 minutes.

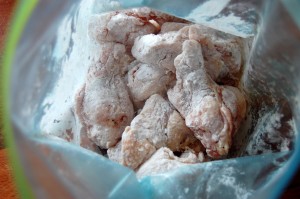
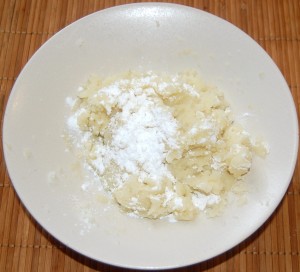
The next step is to coat them with a layer of starch, plus salt and pepper also if you haven’t already done that. We do this by putting ¼ cup (4 tablespoons, 60 ml) rice flour in a ZipLoc bag with 25 wing pieces and salt and pepper to taste. Shake the bag until the wing pieces are evenly coated.

Rice flour works better than tapioca starch or potato starch, as it is the least likely to stick to the cooking pan.

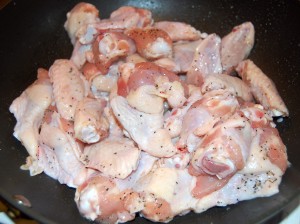
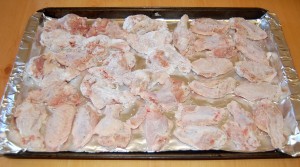
Spread the coated wing pieces on an aluminum foil covered cookie sheet:

If you used potato starch or tapioca starch, the aluminum foil will need to be greased with butter to prevent sticking.

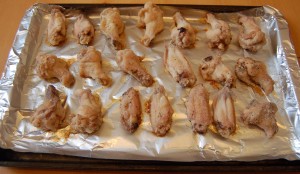
Put the cookie sheet in an oven pre-heated to 400ºF (200ºC) for 20-25 minutes. At this point they should look like this:

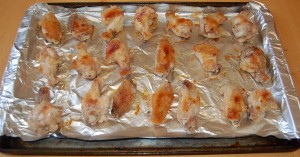
Flip each wing piece over and return to the oven for another 20-25 minutes. At that point the chicken will be fully cooked:

UPDATE (February 2013): We’ve continued our experiments with chicken wing preparation and have come up with a few refinements:

  1. Using gluten-free flour composed of a mix of rice flour, potato starch, and tapioca starch works better than any single flour or starch.
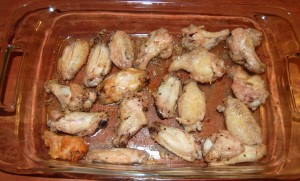
  2. Because of concerns over aluminum contamination, we’ve experimented with other cooking surfaces. We’ve had excellent results with Pyrex baking dishes:
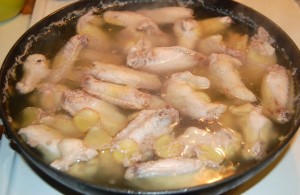
  3. In cases when the chicken wings seem not as fresh, we’ve taken the precaution of boiling the wings in water flavored with ginger-root and salt (both antimicrobial):

    They can be boiled for 5 minutes and then transferred to a baking dish to resume the above recipe:

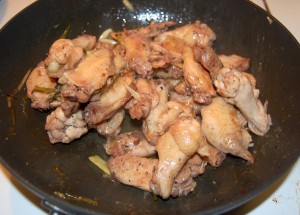
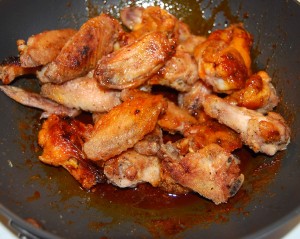
    Or they can be boiled for 20 minutes and then pan-fried briefly with the sauce to brown them. This cuts the preparation time in half. This batch used a Chinese sauce (garlic, scallion, ginger, and soy sauce):

Dressings

We made several flavors:

  • Garlic, parmesan, and mustard.
  • Buffalo style.
  • Pacific sweet and sour.

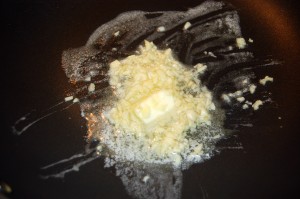
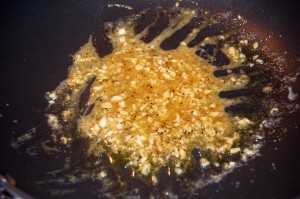
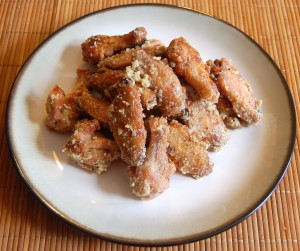
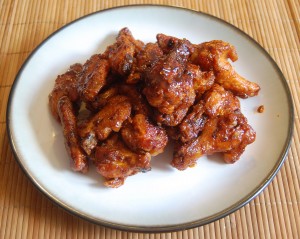
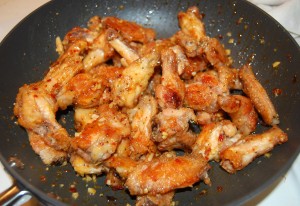
For garlic, parmesan and mustard wings, we mixed 2 cloves diced garlic, 3 tbsp butter, and 1 tbsp mustard at very low heat in a wok. Then we added 1 tbsp brown rice syrup, salt and pepper. When the chicken wing pieces were fully cooked, we added them to the wok, mixed everything thoroughly, and sprinkled parmesan cheese on top. They looked like:

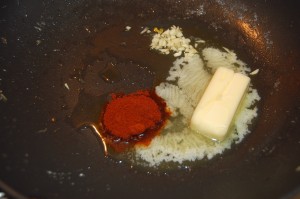
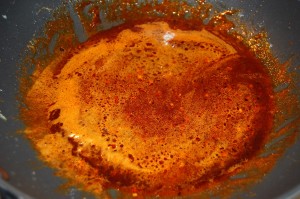
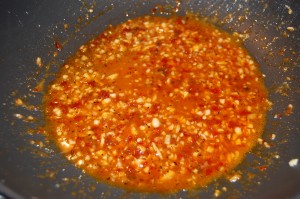
For buffalo style, we combined 4 tbsp butter, chili powder and paprika to taste, garlic, salt, pepper, ¼ cup rice vinegar (or another vinegar), and 1 tbsp brown rice syrup. It looks like:

For Pacific sweet and sour sauce, see Pacific Sweet&Sour Salmon, Apr 10, 2011.

Conclusion

Chicken wings can be a bit time-consuming due to the 45 minutes of oven-cooking, but they are really easy. The chicken wings taste great and they make great finger-food and leftovers.

We typically prepare about 75 and eat them for dinner once and then for snacks over the course of the following week.

Gnocchi

We don’t recognize a huge number of starches as safe, so it’s nice to find ways to prepare our favorite safe starches that give a slightly different taste.

By happy coincidence, we were planning a Gnocchi post today, and Cathryn left a gnocchi recipe this morning:

I made these Gnocchi (potato dumplings) the other night and they were delicious and so easy, a kid could make them.  I used one potato (about 220 grams) boiled in the skin for about 30 minutes, left it to cool, then peeled it and mashed it up.  I added one beaten egg, a little sea salt and 20-30 grams of tapioca starch (the amount needed depends on the moisture content of the potato.  You want a fairly stiff dough).  Put it in the fridge til just before dinner, then took out the dough and using a board dusted with more tapioca starch, rolled it into a “rope” about 1 inch thick and then cut it into pieces about 1 inch long.  Dropped it into gently boiling water for about 2-3 minutes (the dumplings float), drained it, threw in chopped, fresh garden herbs and a lot of butter and had it with roasted chicken.  Really good, very versatile and a recipe that could be tweaked in numerous ways.

This was essentially our recipe too. We tested three kinds of starch – potato starch, tapioca starch, and rice flour – and liked the potato starch best, but all three worked. We made two kinds of sauces, a Bolognese-style sauce and a pesto sauce, but of course safe starches can be matched with anything – Cathryn’s herbs, butter, and roasted chicken sound great!

Making The Gnocchi

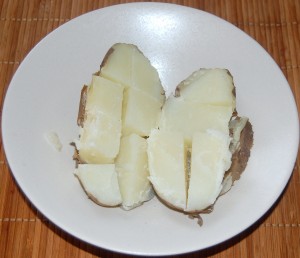
As Cathryn says, start by boiling a potato. It should be fully but not overcooked:

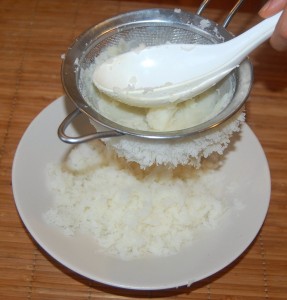
You want to break up any potato lumps and an easy way to assure that is to press the potato through a strainer:

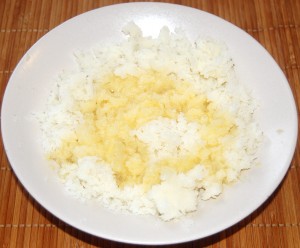
Wait until the potato is cool (otherwise the egg will cook) and mix in one egg per potato, and some salt:

Add 1/3 cup potato starch (tapioca starch and rice flour may also be used, but we liked potato starch best:

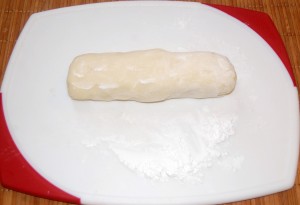
Knead the resulting mixture into a dough and move to a cutting board. Gradually mix in additional starch, rolling and kneading the dough to mix thoroughly, until the consistency is similar to the fleshy part of your palm at the base of the thumb:

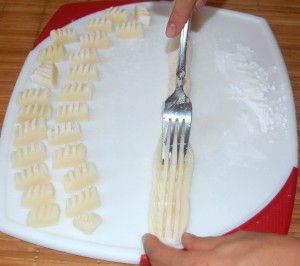
Once you like the consistency, you can divide the dough into pieces, roll them out, and carve little patterns in the rolls with a fork:

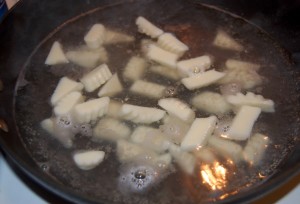
Dice up the dough into bite-size pieces and drop them into boiling water to finish cooking:

When they float, they’re done.

Making the Sauce

Any sauce will do. We’ve previously blogged about Pesto (Mar 27, 2011) and Bolognese style sauces (Cranky Grouch’s Spaghetti, Feb 6, 2011), but there are many possibilities. As in Cathryn’s recipe, just butter on potatoes is excellent, and with meat and vegetables makes a meal.

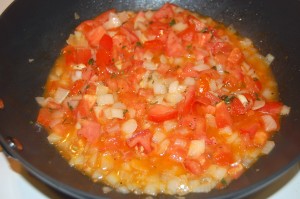
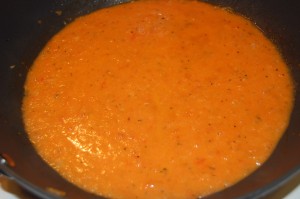
Here’s what we did today. We put onions, tomatoes, and garlic with a little oil and some herbs in a wok:

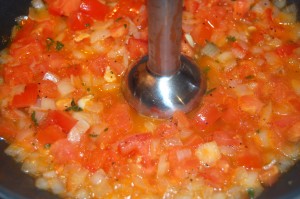
We have a hand blender that can puree vegetables in the pan, which is nice because it leaves less to clean up:

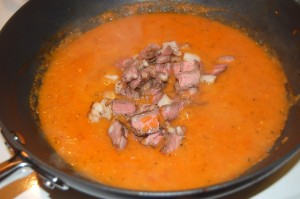
We had some leftover meat to get rid of, so that went in the sauce:

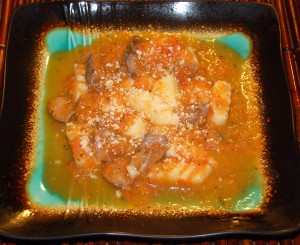
After a little simmering we spread the sauce over the gnocchi, added some parmesan cheese, and called it lunch:

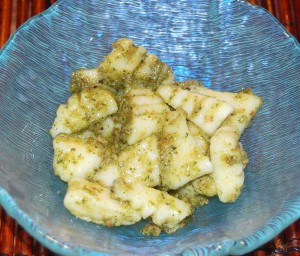
We also made a pesto sauce, this time with an equal mix of pistachio and macadamia nuts (highly recommended!):

Conclusion

Cathryn’s conclusion is just right:

Really good, very versatile and a recipe that could be tweaked in numerous ways.

Potatoes have great nutritional value (lots of potassium and other nutrients), but it’s easy to get bored with the texture.  Gnocchi has the same nutritional profile but a chewy, doughy texture that gives a different taste. Try it – you’ll like it!