Category Archives: Food - Page 8

Mussels in Thai Curry Sauce

We recommend eating shellfish, for their nutritional content and lack of omega-6 fats.

At least in New England, mussels are inexpensive and readily available. We pay around $3 per pound and they are in local supermarkets year-round.

Mussels make a good appetizer or main dish. We usually make them with one of three sauces: (1) A soy sauce based Asian sauce; (2) Pacific Sweet and Sour sauce; or (3) a Thai curry sauce. Today, it’ll be the Thai curry sauce.

Preparing the sauce

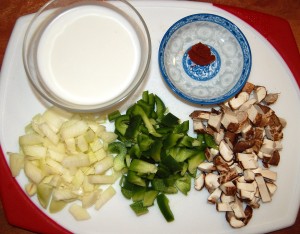
Our main ingredients were onions, peppers, shiitake mushrooms, coconut milk, and Thai Kitchen red curry paste:

Prepare the sauce in a wok – this is important because we’ll want to toss the mussels in the sauce later, and you’ll need the rounded sides.

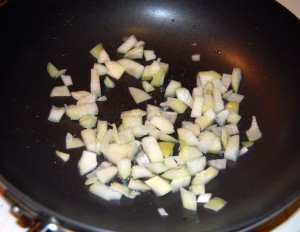
Soften the onions in a bit of oil – we used rendered beef tallow:

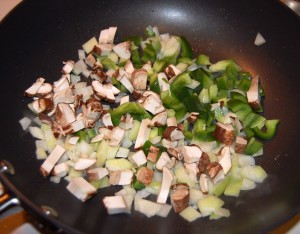
Add the peppers and mushrooms and cook them a bit:

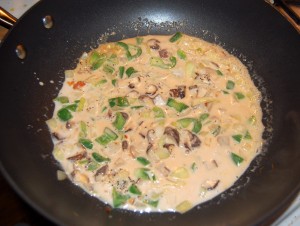
Then add the coconut milk, curry paste, salt, pepper, and other seasonings to taste:

Steaming the mussels

The key to cooking mussels is to steam them separately, flash-cooking them so they don’t overcook and become dry and tough, but cooking long enough to kill any bad bacteria.

While the sauce is cooking, start heating a few inches of water in a steamer pot. When the water is boiling and making steam, and the sauce is done, add the mussels to the steamer.

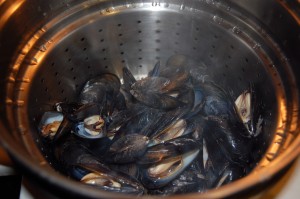
They’ll need two to five minutes to cook. You’ll know they’re done when the mussels open. You can hear them opening, or, if you have a glass lid to your steamer as we do, can watch them. Let the opened mussels steam briefly before removing the lid. When you open the lid the mussels should all be open:

Discard any mussels that failed to open. Immediately remove the steamer basket and let any liquid drain out.

Finishing

There’s no further cooking once the mussels have been steamed; all you have to do is transfer the mussels to the wok with the sauce, and mix them.

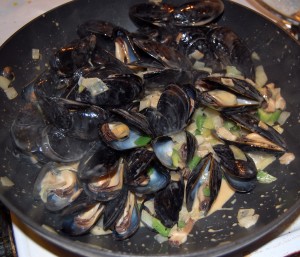
Once you’ve transferred the mussels to the work, toss the mussels in the wok until the mussels and sauce are thoroughly mixed:

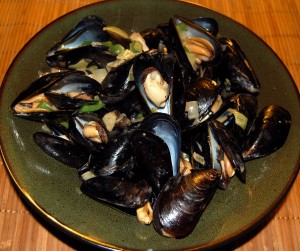
Transfer to a serving bowl, pouring any residual sauce over the mussels:

Enjoy!

Bone Broth Revisited; and Pumpkin Soup

We’d like to thank Shilpi and Amit Mehta for hosting the potluck dinner last night. My talk was on “Common Pitfalls of Paleo,” and it was a pleasure to meet so many Paleo enthusiasts, including people we knew from PaleoHacks, email, comments, and Facebook.

We brought pumpkin soup to the potluck, and that will be our food post this week. But we’ve had some questions about bone broths, so let’s revisit that first.

Making a Tasty Broth

Earlier, we discussed making a broth from ox feet (Ox Feet Broth, Miso Soup, and Other Soups, Jan 2, 2011). The advantage of feet (ox feet, chicken feet) or tails (ox tail) is that they have a lot of connective tissue, so they make a gelatinous broth full of nourishing collagen.

However, you can make a good broth from any bones, and it’s possible to find marrow bones that also have some connective tissue. With longer cooking, you can extract collagen and minerals from the bone itself, and get a good broth from these larger bones.

We’ve found, on limited data so far, that bones from grass-fed animals from local farms seem to produce a tastier broth than supermarket bones. I’d be curious to hear if others have had the same experience.

A few other tricks can help make a tasty broth. One tactic that seems to work is to discard and replace the cooking water at an early stage.

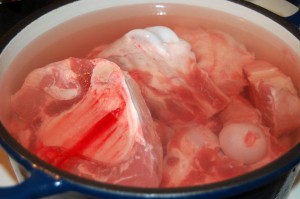
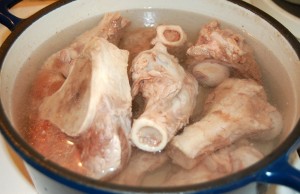
Here’s what we do. In this case, we started with a mix of beef and pork bones:

As you can see some blood comes out of the bones, especially the pork bones, almost immediately. This may be responsible for the poor taste some experience.

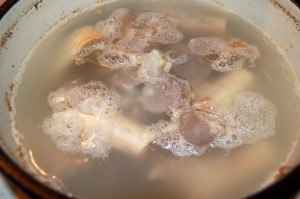
We put the heat on very low and let the water warm up gradually. Before it reaches a boil, after an hour or less, it looks like this:

At this point we drain and discard the liquid, adding new water. It now looks like:

You can see the marrow inside the pork bones, which will fall out before we’re done, and the ligaments and tendons in the joints, which will produce a nourishing gelatin. Bits of meat and fat will also be released.

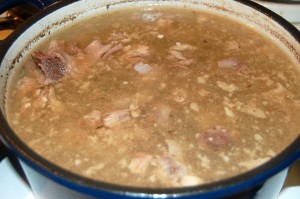
After some hours of cooking, all the meat and fat and most of the marrow and connective tissue will have fallen off the bones. It will look something like this:

At this point you can pour out the broth into a container and use this fatty, meaty broth for rich soups. Seaweed, vegetables like tomatoes and onions, and thinly sliced beef, tendon, or pork bellies go well with this broth. We often use it for Pho (Vietnamese Noodle Soup) (Feb 27, 2011).

Add water and acid and continue cooking. This second round of broth will mainly contain minerals and some collagen, and will need longer cooking.

In the second and later rounds of cooking, we add an acid to help extract minerals from the bones and expose the collagen matrix. Lime juice, lemon juice, and vinegar all work well. We especially like the juice of a lime, and rice vinegar, which gives a slightly sweet taste; others seem to like apple cider vinegar, which is more acidic.

Here are our beef and pork bones early in the process:

And here they are later:

The bones will be obviously softening by this point, as you can tell by poking them with the tine of a fork.

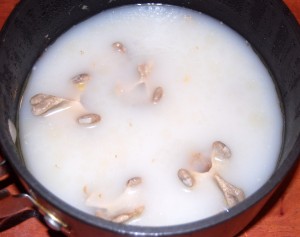
If you wish, you can once again collect the broth, add new water and cook again. Every successive broth will be lighter. In the third round, with long enough cooking, the broth becomes white, like this:

I have heard that in earlier times, when food was costly but fuel cheap, that bones would get cooked until all the nutrients had been extracted – for as long as a month.

Pumpkin Soup

Pumpkins are abundant in New England in October, and we love pumpkin soup.

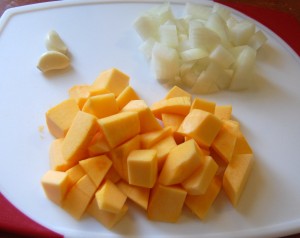
Here are the ingredients – garlic, onion, and pumpkin:

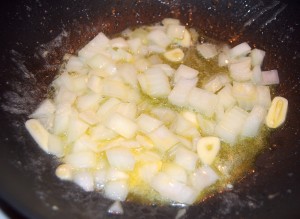
On very low heat, gently cook the garlic and onion in 3 tbsp butter:

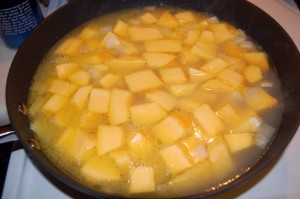
Then add the diced pumpkin and enough bone broth to cover:

Bring to a simmer but don’t boil. When the pumpkin is cooked, after about 20 minutes, use a hand blender to puree the pumpkin-onion-broth mixture in the pot. It will look like this:

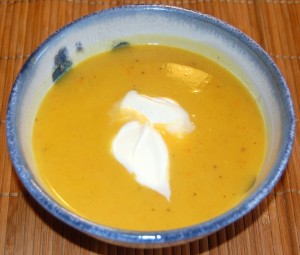
Add salt, pepper, cinnamon, and nutmeg to taste, and 1 tbsp rice syrup for a touch of sweetness. Add curry, or other spices, if you like a more flavorful soup. Serve hot, adding a dollop of sour cream if you like a richer, fattier taste:

A delicious autumn appetizer! It can even serve as a meal by adding meat and vegetables to the soup.
Onion Rings

Our series on American food has included a number of finger foods; we’ve done Chicken Wings, Hamburgers, Chocolate Chip Cookies, and French Fried Potatoes and Sweet Potatoes. But we can’t leave out onion rings.

Ingredients

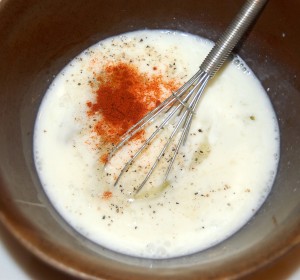
You’ll need with a batter, made of 4 egg whites, 1 tbsp cream (or milk), and a pinch of paprika, salt, and pepper to taste:

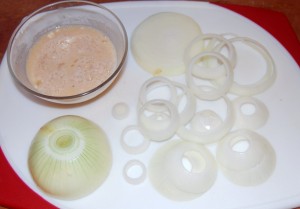
Slice a yellow onion (we like the taste better than sweet onions) and separate it into rings:

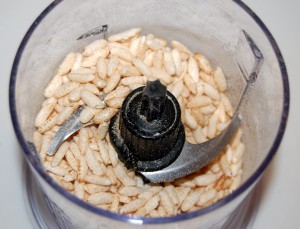
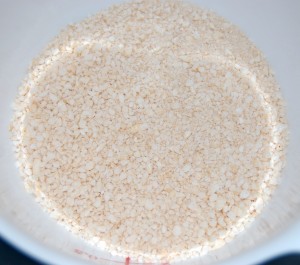
Finally, prepare a coating. We like puffed rice, or puffed rice with mixed nuts, ground in a food processor:

Preparation

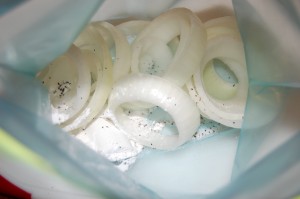
Place the rings from one onion with 1 tbsp potato starch and salt and pepper in a Ziploc bag:

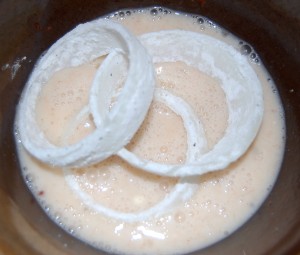
Shake until the rings are evenly coated. Then dip them in the batter:

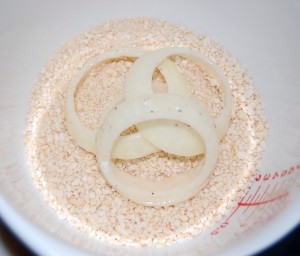
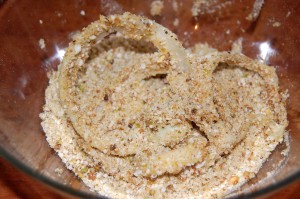
And then the coating:

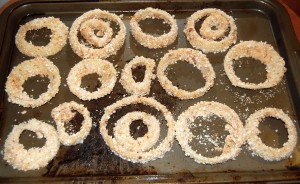
Lay them out on a cookie sheet and bake for 15 minutes at 400ºF (200ºC):

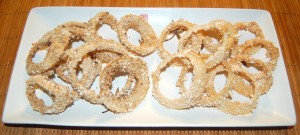
Serve:

Conclusion

They taste great alone or with a dipping sauce: we tried melted butter, ketchup, and our Pacific sweet and sour sauce.

Chicken Wings

A little while back on the recipes thread Gabrielle asked for breakfast ideas that provided protein and worked around some allergies:

Breakfast has become a source of stress for me. Here is why. I have celiac disease so gluten and actually all grains are out for me (except a little white rice which is why this program appeals to me so much). I really need quality protein in the morning to feel good all day but since my diagnosis I over ate eggs and am now allergic to them as well. I have tried bacon and sausage but no matter how organic they are they just don’t sit well in my system. And, whey protein is out for me since I am also allergic to dairy (so just in case you were keeping score I am allergic to gluten, grains, eggs, and dairy).

So, does anyone know of any recipe that might work for me in the mornings?

I suggested chicken wings. These are easy to make in large batches, last a long time, can be eaten cold or microwaves, and make a great party or lunch box food.

It seems only fair to provide our recipe.

Preparing the Chicken

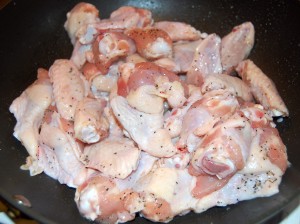
Chicken wings can be purchased either pre-cut or whole. We used to buy them whole, but cutting whole wings into drumettes, wingettes, and tips with kitchen shears tripled the amount of work, so now we buy pre-cut drumettes and wingettes.

After they’re cut, the next step is to rinse the drumettes and wingettes and strain the water, letting them drip-dry for 5 to 10 minutes until they are just moist enough to hold a rice flour coatingpat the wings dry with a paper towel and then let them air dry for ~20 minutes.

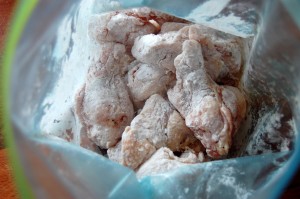
The next step is to coat them with a layer of starch, plus salt and pepper also if you haven’t already done that. We do this by putting ¼ cup (4 tablespoons, 60 ml) rice flour in a ZipLoc bag with 25 wing pieces and salt and pepper to taste. Shake the bag until the wing pieces are evenly coated.

Rice flour works better than tapioca starch or potato starch, as it is the least likely to stick to the cooking pan.

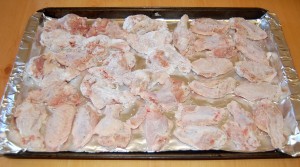
Spread the coated wing pieces on an aluminum foil covered cookie sheet:

If you used potato starch or tapioca starch, the aluminum foil will need to be greased with butter to prevent sticking.

Put the cookie sheet in an oven pre-heated to 400ºF (200ºC) for 20-25 minutes. At this point they should look like this:

Flip each wing piece over and return to the oven for another 20-25 minutes. At that point the chicken will be fully cooked:

UPDATE (February 2013): We’ve continued our experiments with chicken wing preparation and have come up with a few refinements:

  1. Using gluten-free flour composed of a mix of rice flour, potato starch, and tapioca starch works better than any single flour or starch.
  2. Because of concerns over aluminum contamination, we’ve experimented with other cooking surfaces. We’ve had excellent results with Pyrex baking dishes:
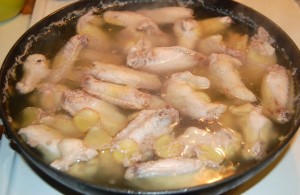
  3. In cases when the chicken wings seem not as fresh, we’ve taken the precaution of boiling the wings in water flavored with ginger-root and salt (both antimicrobial):

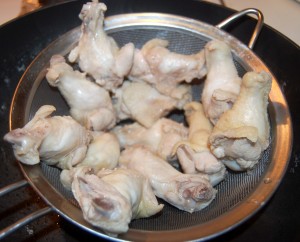
    They can be boiled for 5 minutes and then transferred to a baking dish to resume the above recipe:

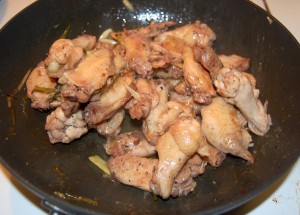
    Or they can be boiled for 20 minutes and then pan-fried briefly with the sauce to brown them. This cuts the preparation time in half. This batch used a Chinese sauce (garlic, scallion, ginger, and soy sauce):

Dressings

We made several flavors:

  • Garlic, parmesan, and mustard.
  • Buffalo style.
  • Pacific sweet and sour.

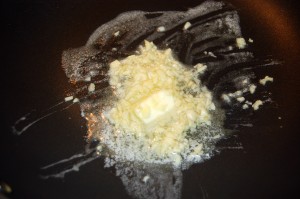
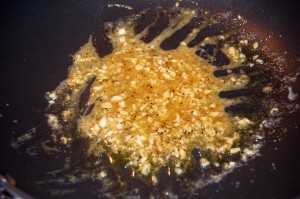
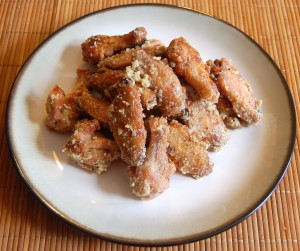
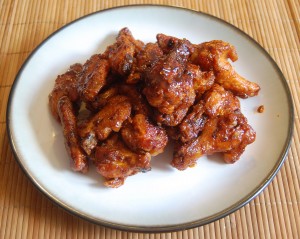
For garlic, parmesan and mustard wings, we mixed 2 cloves diced garlic, 3 tbsp butter, and 1 tbsp mustard at very low heat in a wok. Then we added 1 tbsp brown rice syrup, salt and pepper. When the chicken wing pieces were fully cooked, we added them to the wok, mixed everything thoroughly, and sprinkled parmesan cheese on top. They looked like:

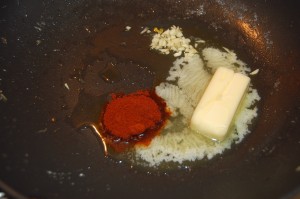
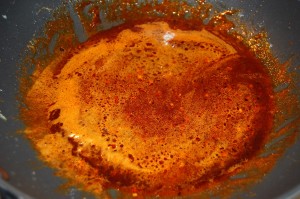
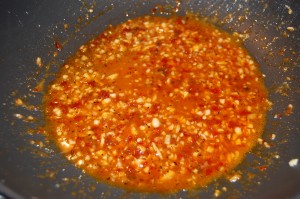
For buffalo style, we combined 4 tbsp butter, chili powder and paprika to taste, garlic, salt, pepper, ¼ cup rice vinegar (or another vinegar), and 1 tbsp brown rice syrup. It looks like:

For Pacific sweet and sour sauce, see Pacific Sweet&Sour Salmon, Apr 10, 2011.

Conclusion

Chicken wings can be a bit time-consuming due to the 45 minutes of oven-cooking, but they are really easy. The chicken wings taste great and they make great finger-food and leftovers.

We typically prepare about 75 and eat them for dinner once and then for snacks over the course of the following week.